

Prerequisites:
AWS Account:
React App:
Steps:
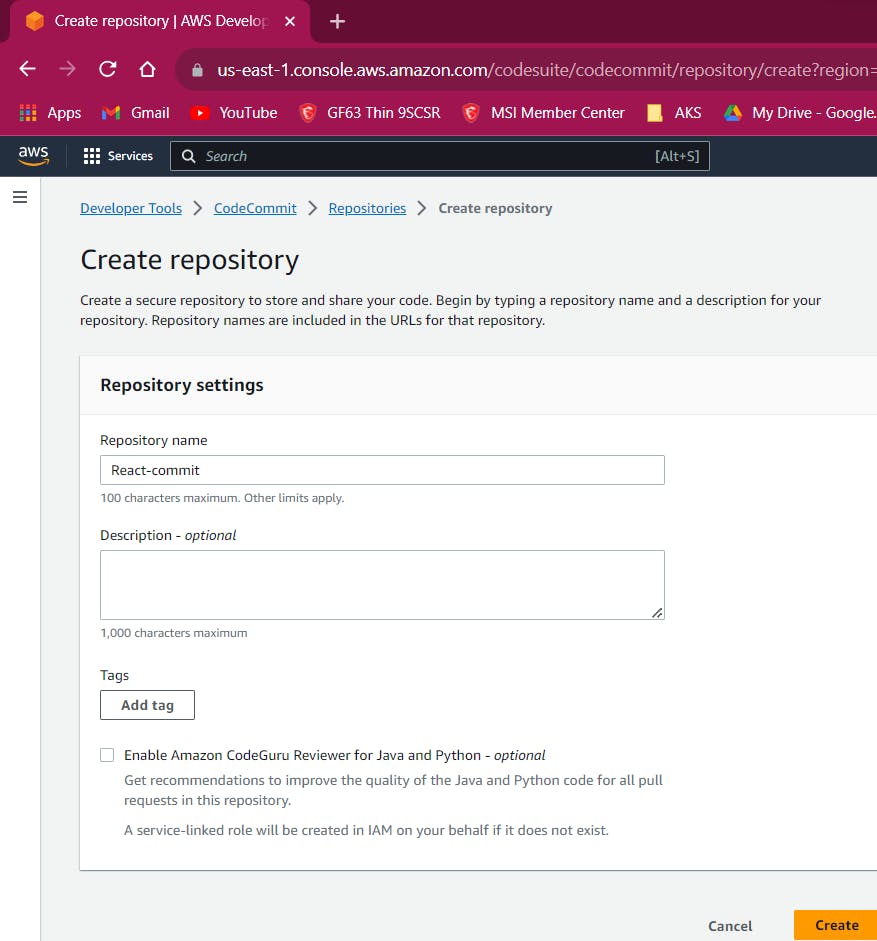
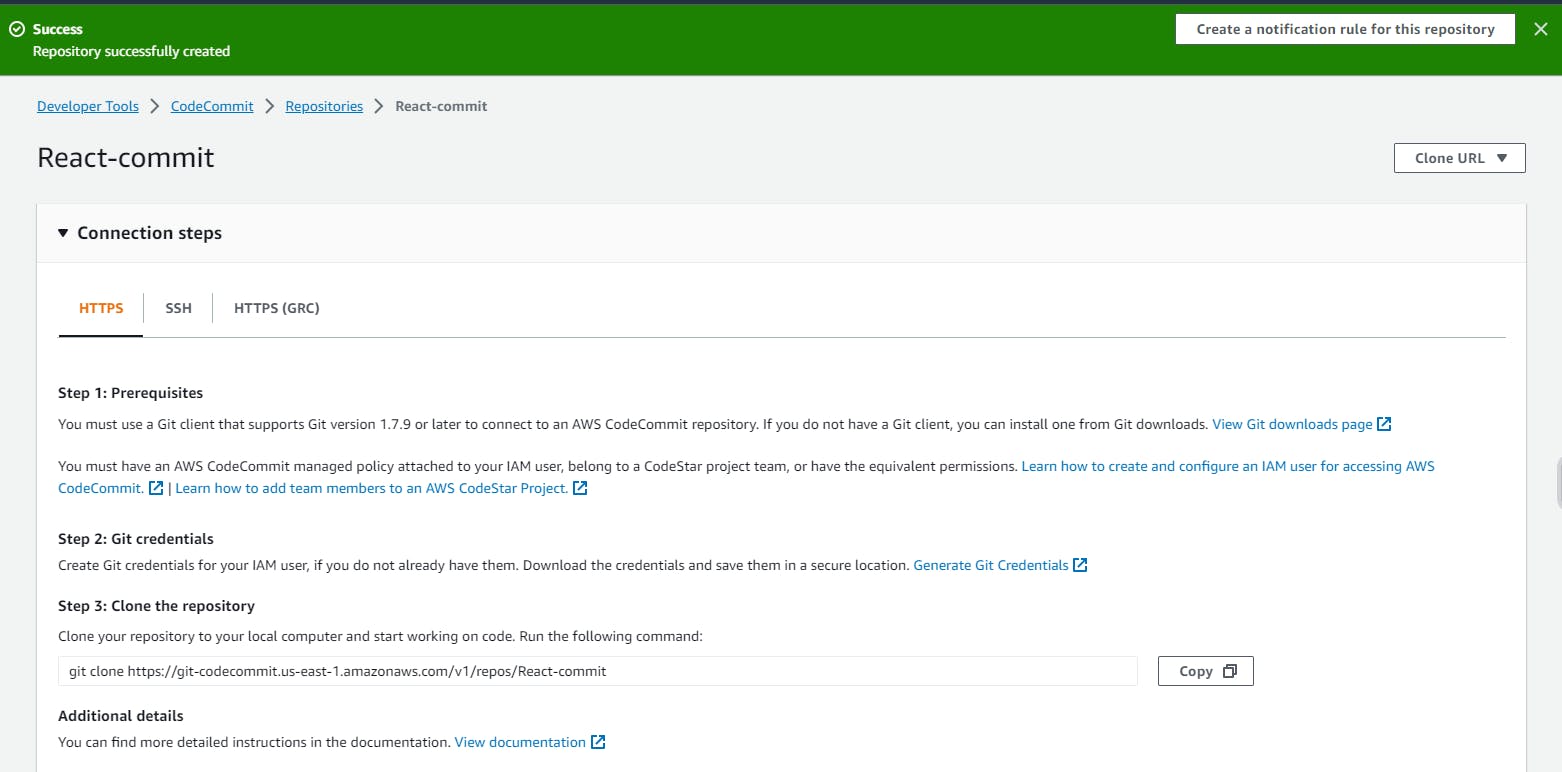
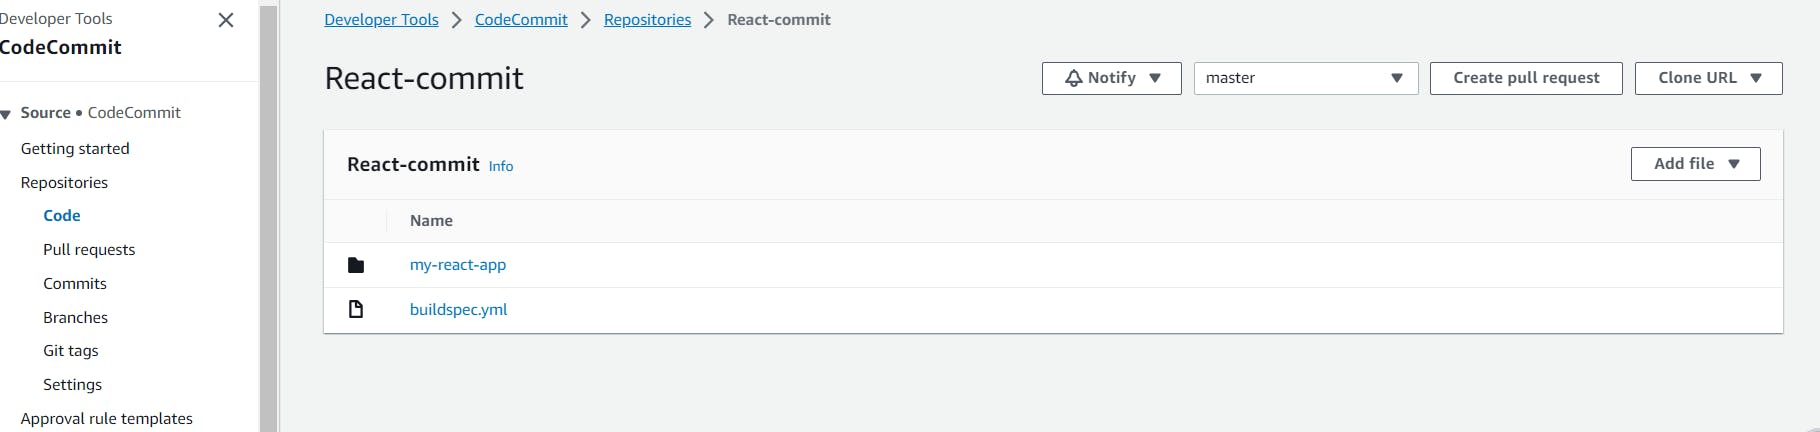
1. Set Up AWS CodeCommit Repository:
Create a new CodeCommit repository to store your React app code
2. Clone the Repository:
Clone the CodeCommit repository to your local machine.

3. Develop and Commit Your React App:
Add your React app code to the local repository and commit the changes.

  git add .
  git commit -m "Initial commit"
  git push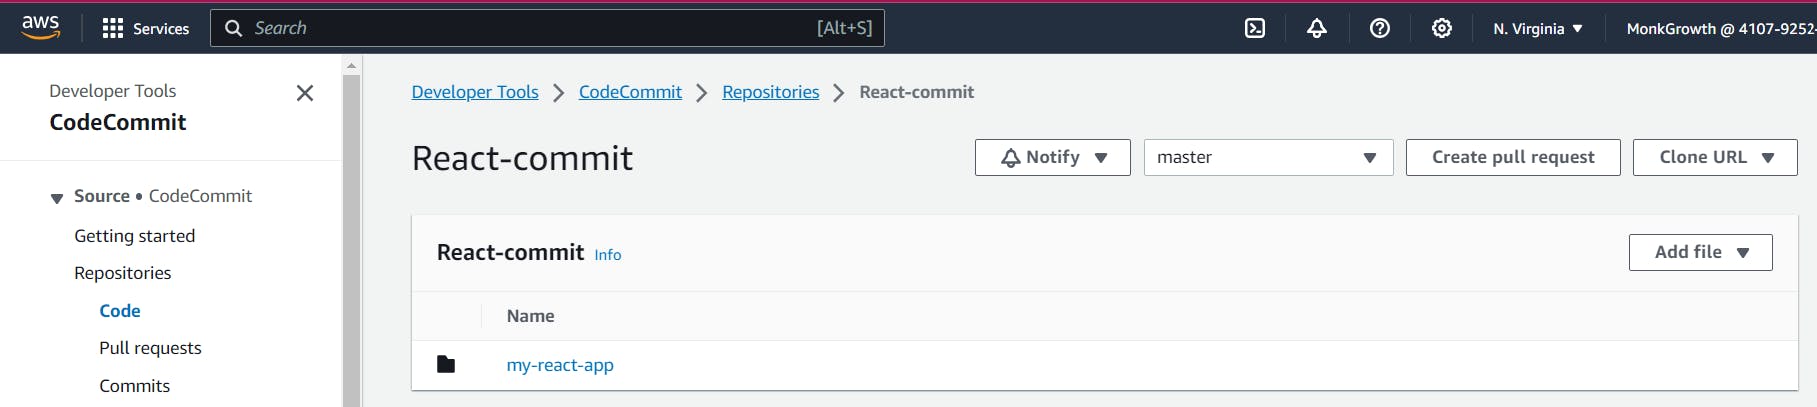
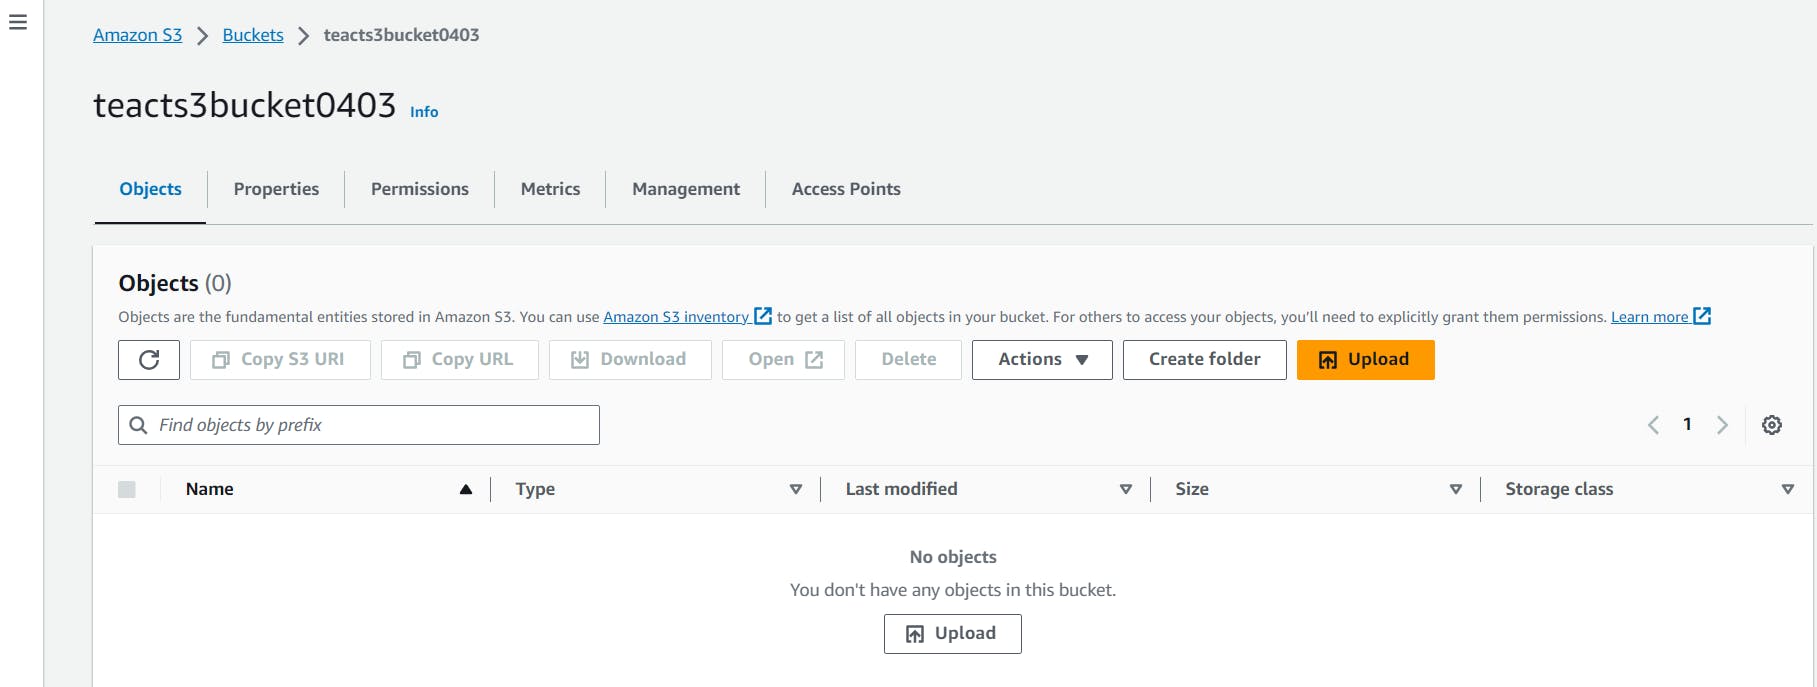
4. Set Up AWS S3 Bucket:
Create an S3 bucket to host your static website content. Customize properties and permissions for optimal performance and security.
Navigate to the "Properties" section of your S3 bucket and enable static website hosting to make your website accessible to users worldwide.

Visit the "Permissions" section of your S3 bucket and consider disabling block public access for increased flexibility in managing access controls.

In the CORS (Cross-Origin Resource Sharing) settings of your S3 bucket, optimize access control by adding the following code:
[
    {
        "AllowedHeaders": [],
        "AllowedMethods": ["GET"],
        "AllowedOrigins": ["*"],
        "ExposeHeaders": []
    }
]

5. Set Up AWS CodeCommit and CodeBuild, CodeDeploy:

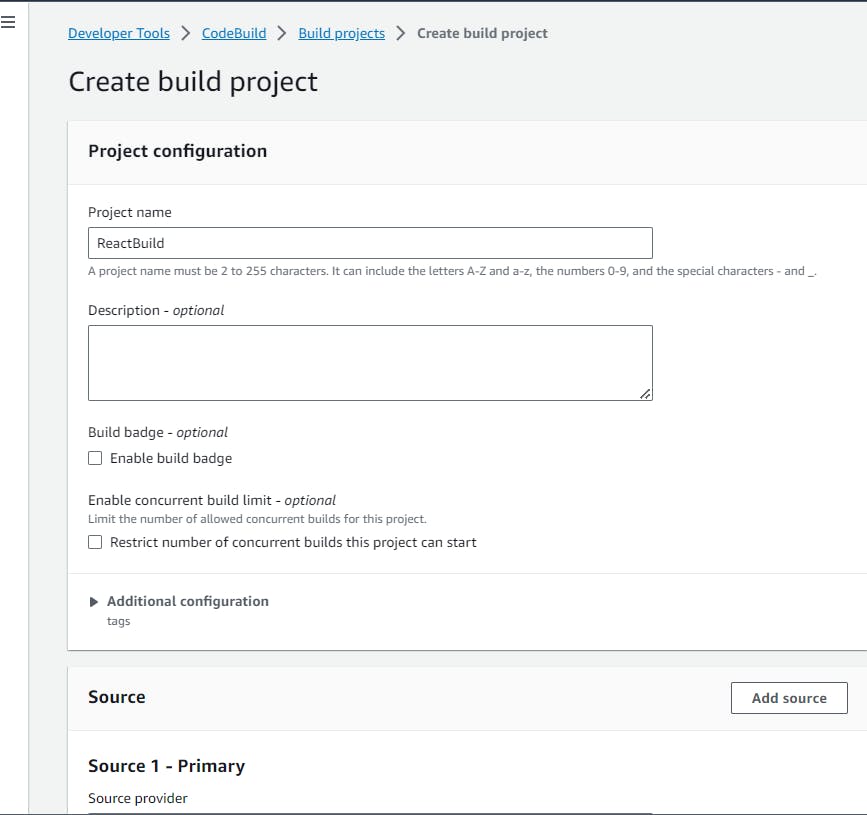

6.Create buildspec.yml for AWS CodeBuild:
Adjust the file paths and build commands as needed for your specific project structure.
  version: 0.2

  phases:
    install:
      runtime-versions:
        nodejs: 18
    pre_build:
      commands:
        - cd my-react-app
        - echo Installing source NPM dependencies...
        - npm install
    build:
      commands:
        - echo Build started on 'date'
        - npm run build

  artifacts:
    files:
      - '**/*'
      #- "my-app/build/**/*"
    base-directory: 'my-react-app/build'
    #discard-paths: yes
Add changes in Repo

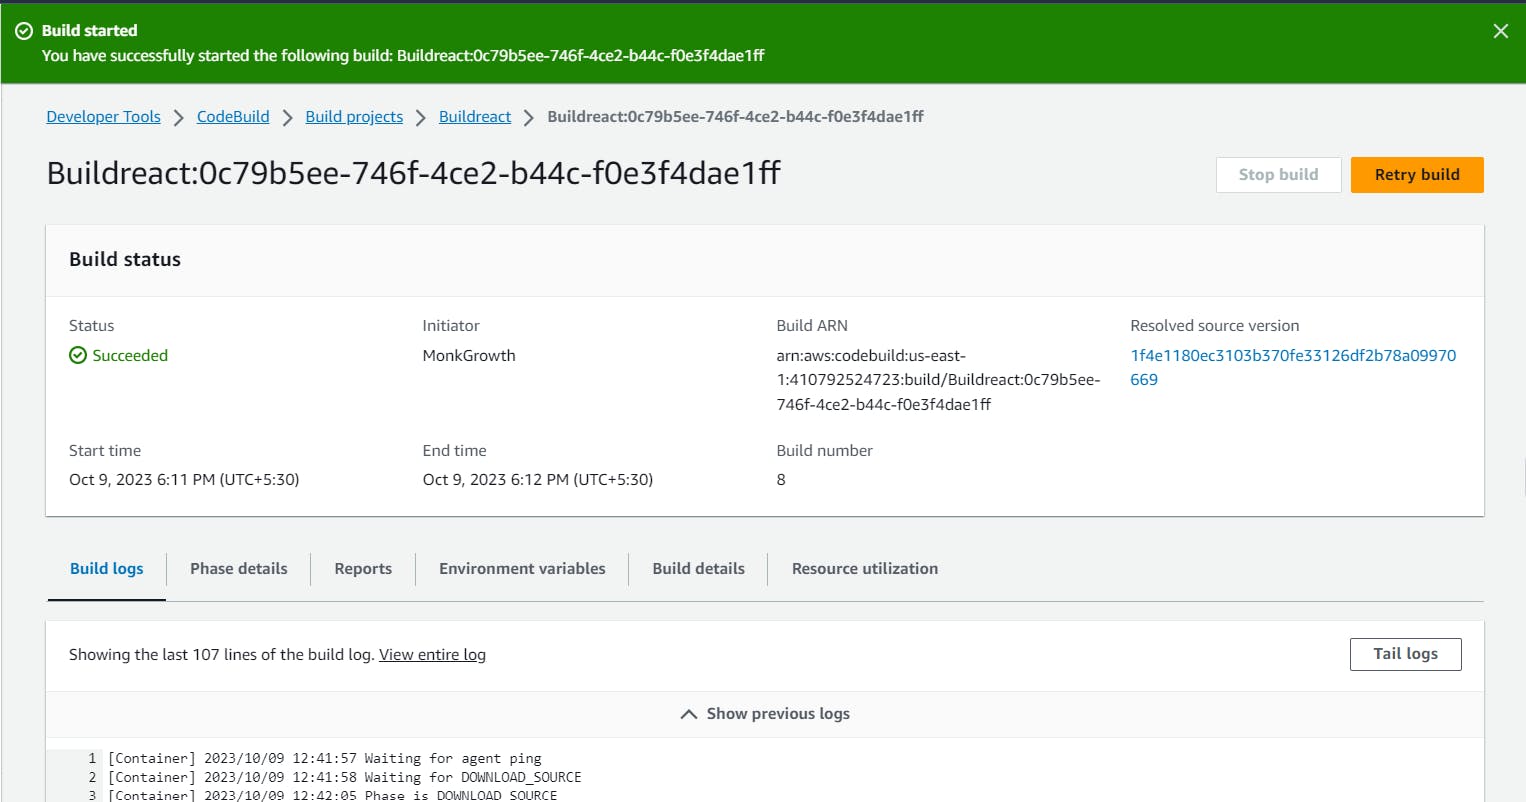
Successfully Build
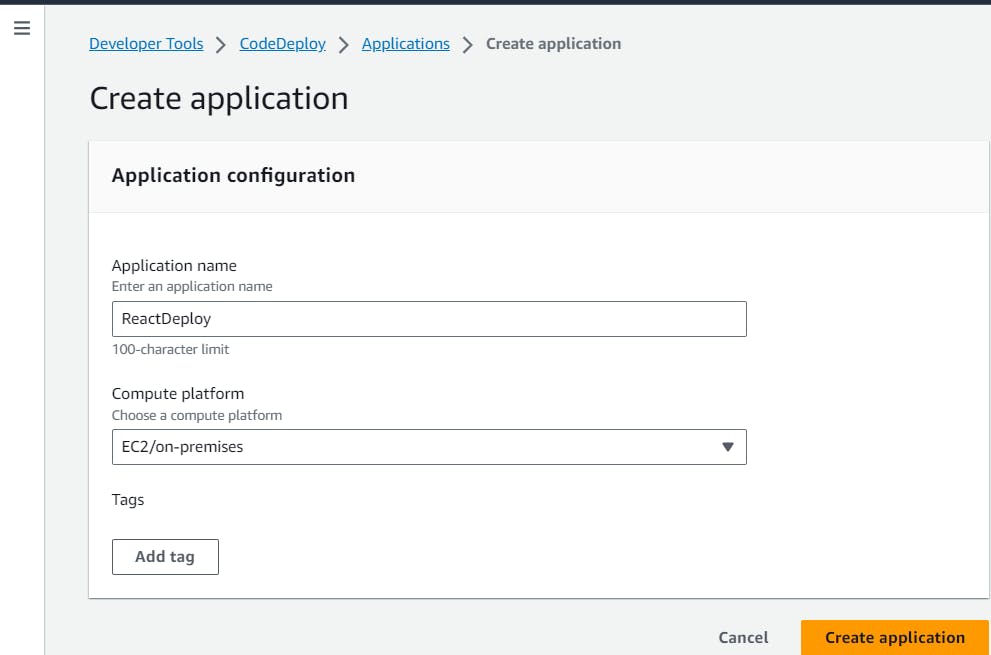
7.Create an AWS CodeDeploy Application
8.Set up AWS CodePipeline


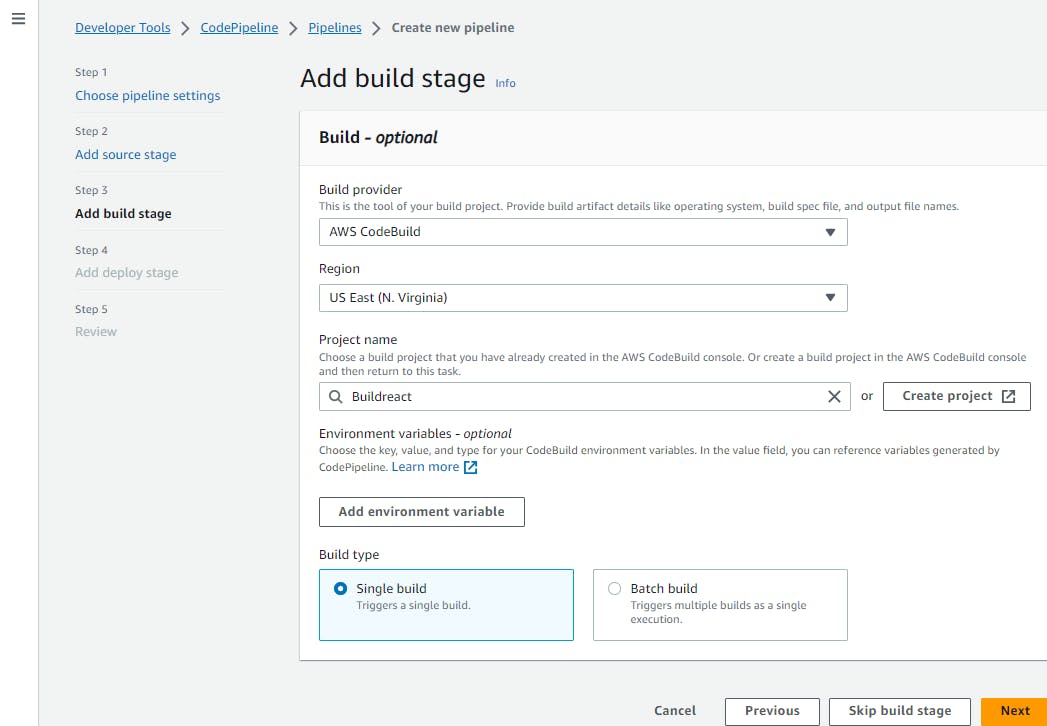
Set up a deploy stage to the S3 bucket

9.Successfully Deploy

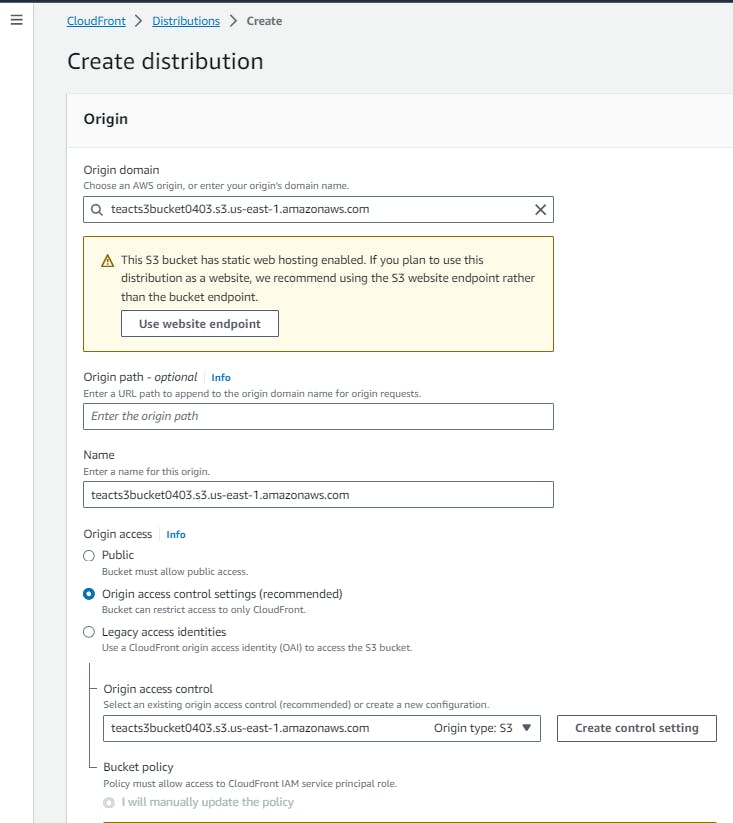
10.Create a CloudFront Distribution

11.Successfully created distribution

12.In the "Default Root Object" field, enter
index.html.
This ensures that when users access the root URL of your CloudFront distribution, CloudFront returns the
index.htmlfile, initiating the loading and rendering of your SPA.
13.Save the changes.

14.Once the files are uploaded, you can access your React app through the CloudFront distribution domain name

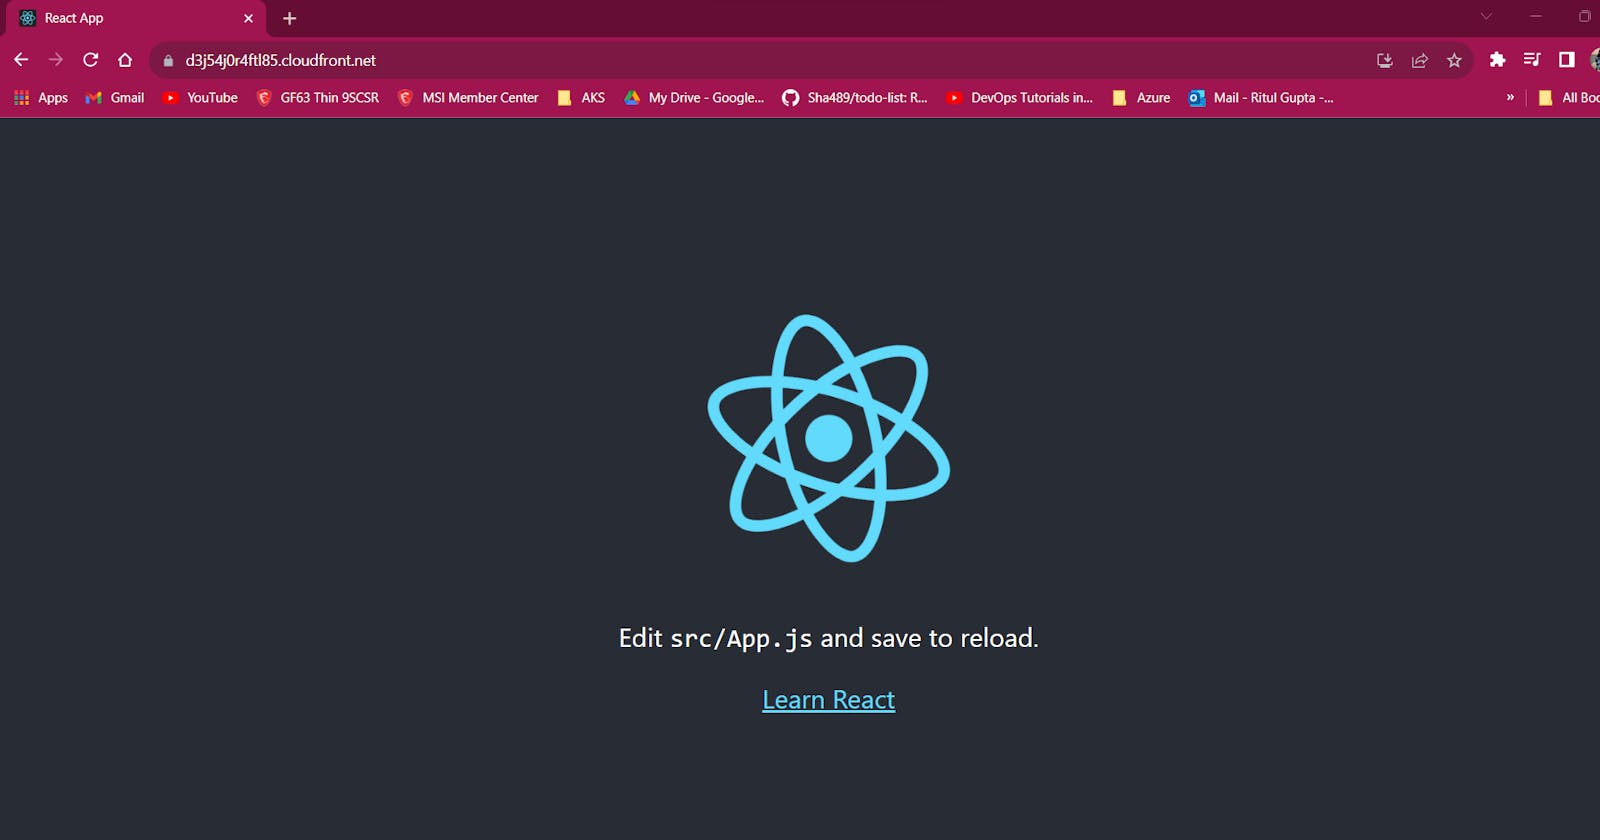
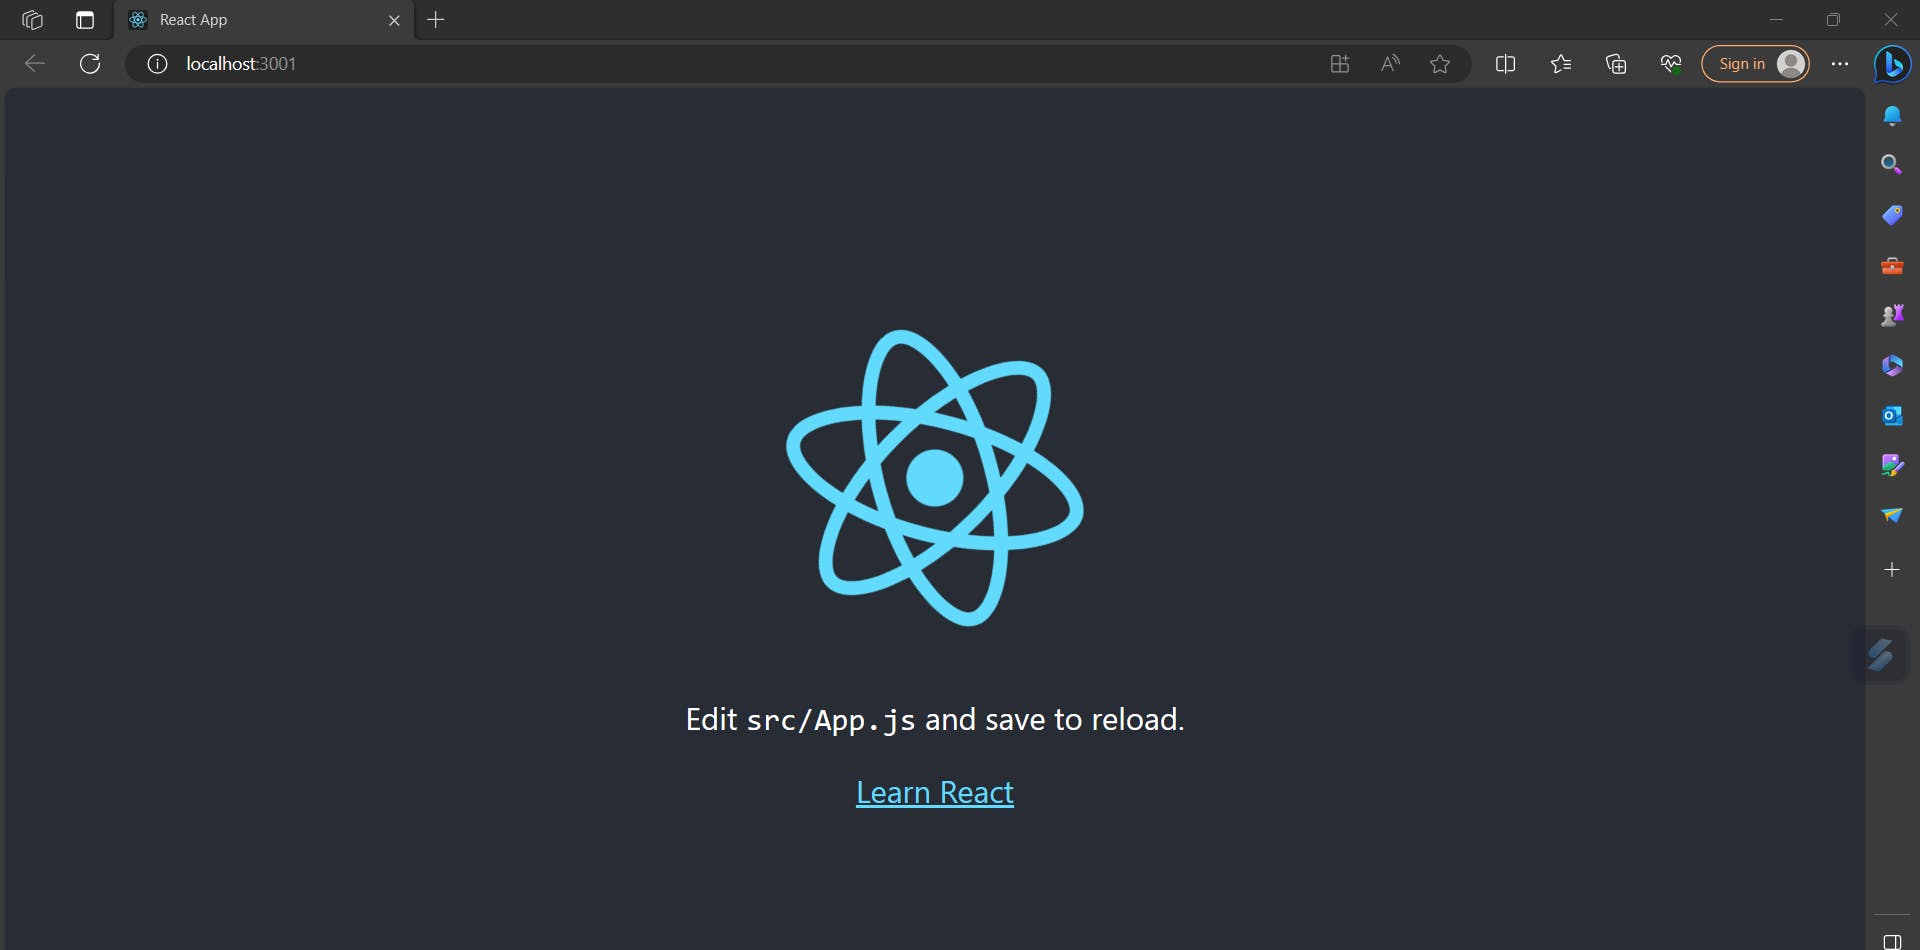
15.Open a web browser and navigate to the URL of CloudFront distribution. And see the React app being served through CloudFront.

Tips for Troubleshooting:
Cache Invalidation:
If changes aren't reflecting, perform a cache invalidation in CloudFront.

Build Artifacts:
- Confirm that the correct build artifacts are being generated by CodeBuild.
S3 Bucket Permissions:
Ensure that the S3 bucket has the necessary permissions for CodePipeline to deploy.

Thank you!