


AWS:
Amazon Web Services is one of the most popular Cloud Providers that have a free tier too for students and Cloud enthusiasts for their Hands-on while learning (Create your free account today to explore more on it).
Read from here
IAM:
AWS Identity and Access Management (IAM) is a web service that helps you securely control access to AWS resources. With IAM, you can centrally manage permissions that control which AWS resources users can access. You use IAM to control who is authenticated (signed in) and authorized (has permissions) to use resources. Read from here
To get to know IAM more deeply Click Here!!
TASK-1
👉 Create an IAM user with the username of your own wish and grant EC2 Access.
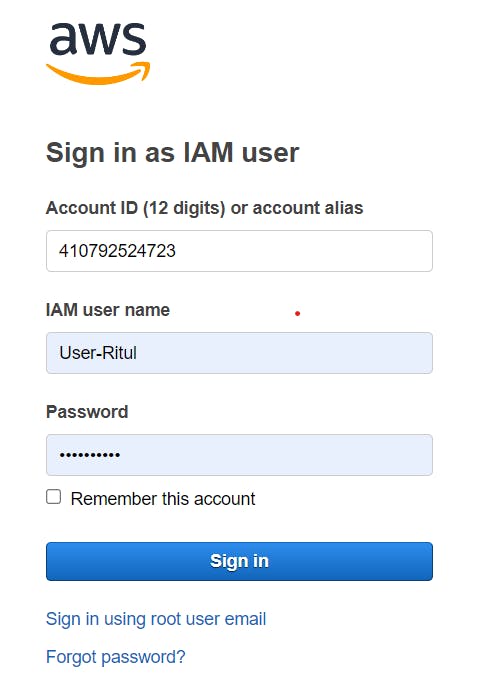
Sign in to the AWS Management Console.
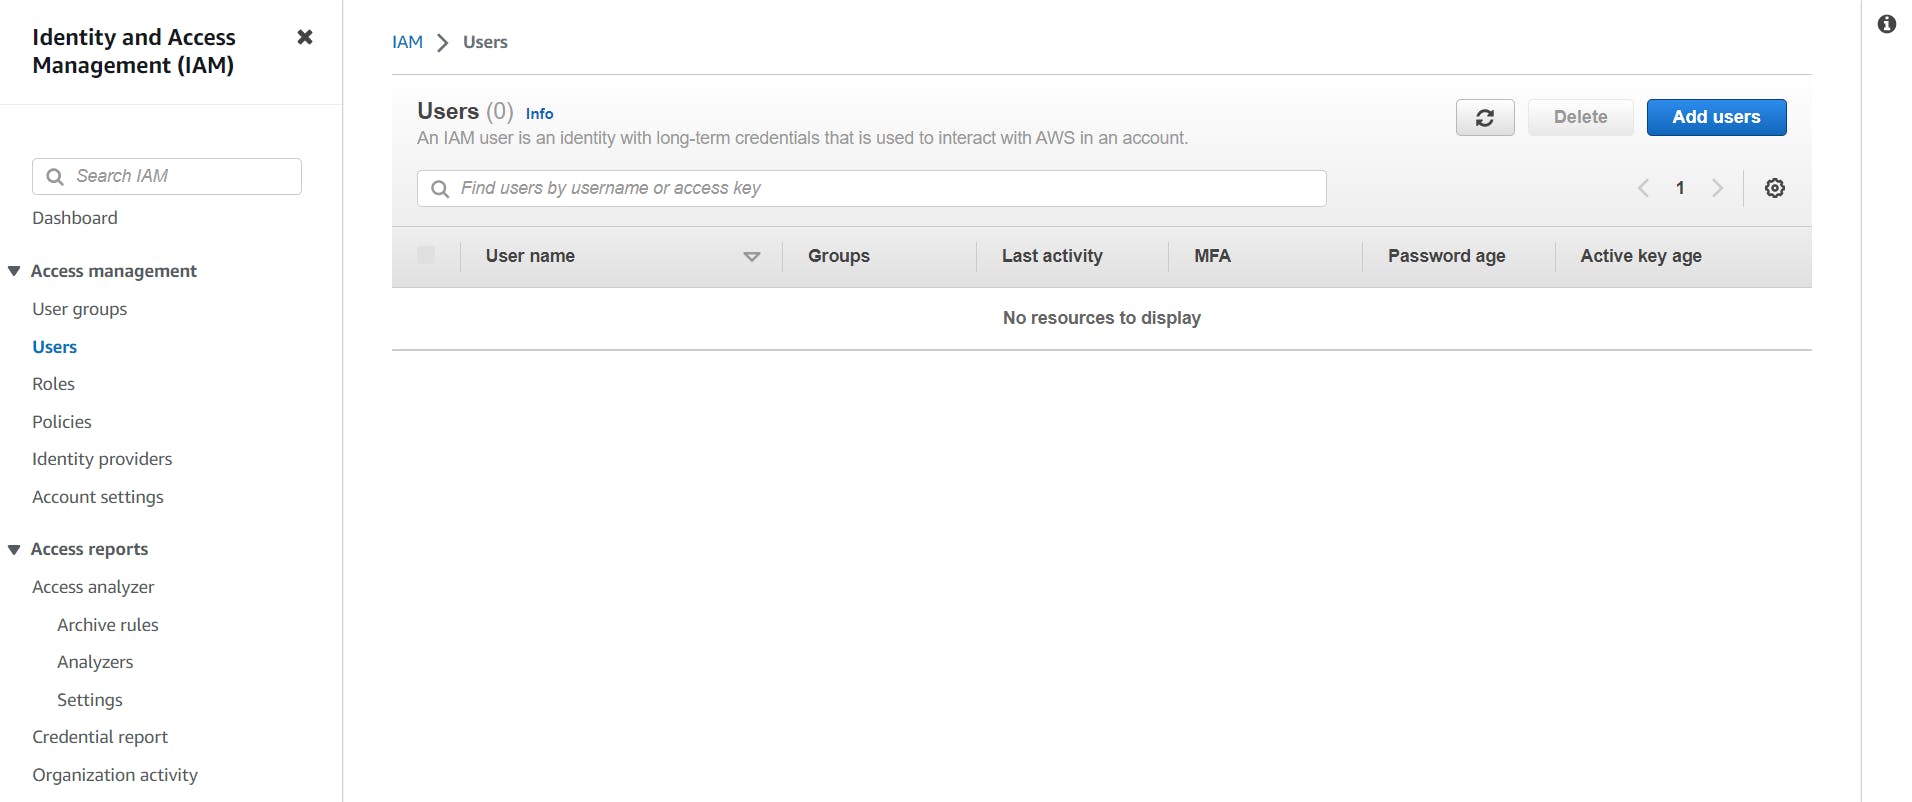
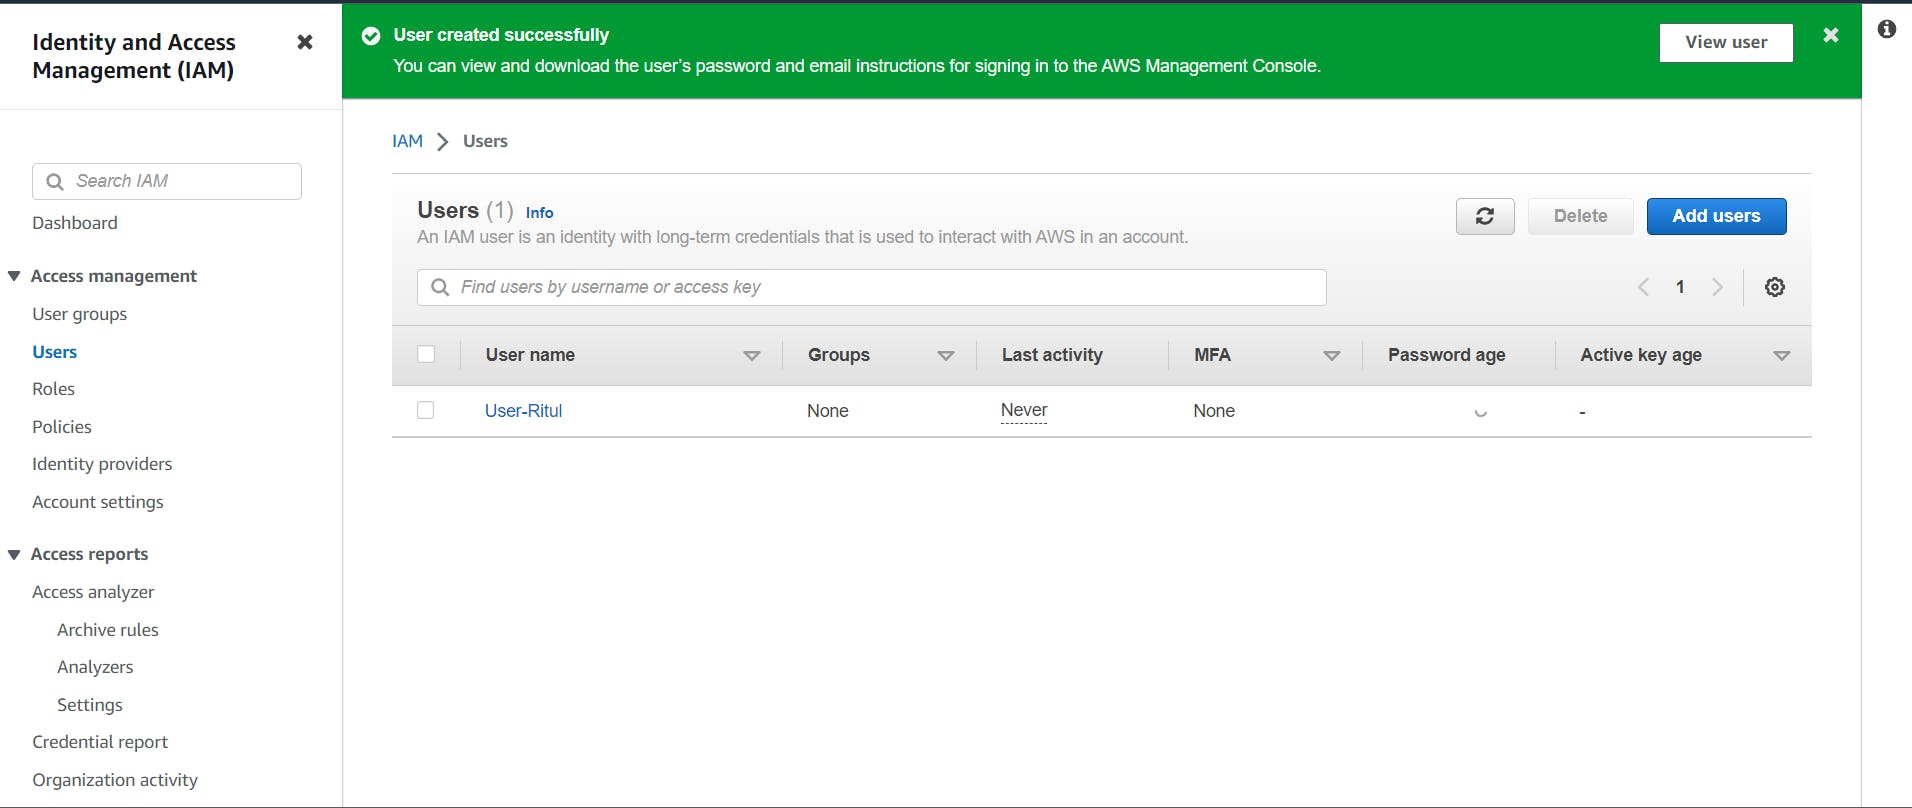
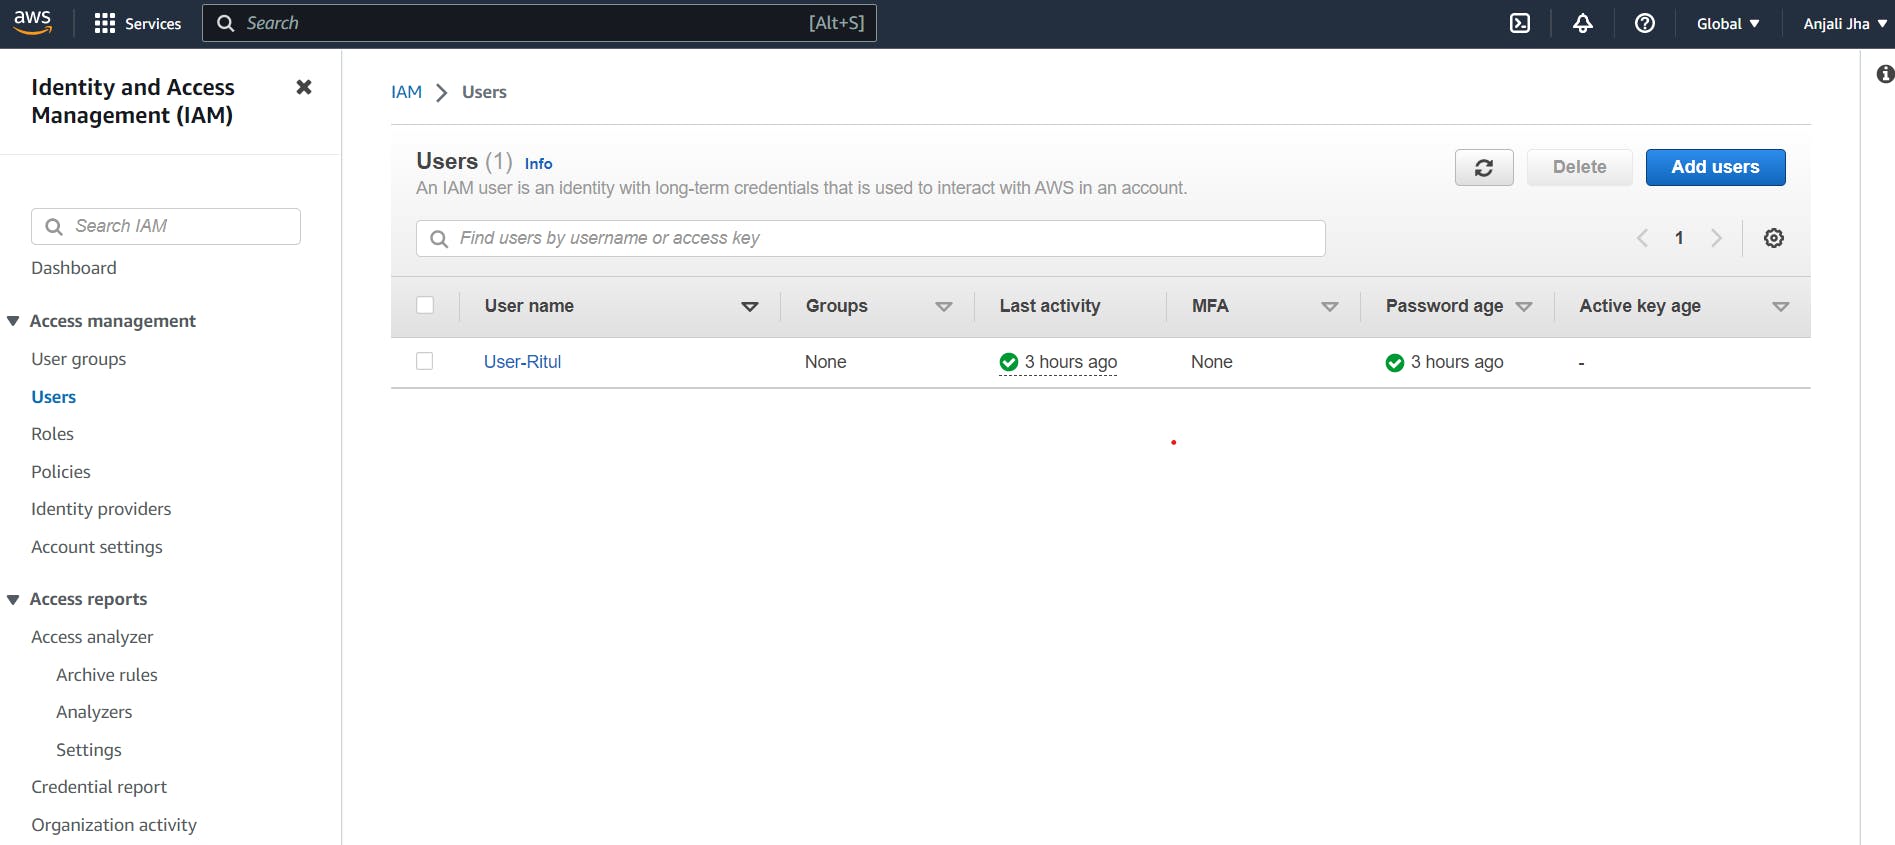
Open the IAM console.
In the left navigation pane, click on "Users" and then click on the "Add user" button.
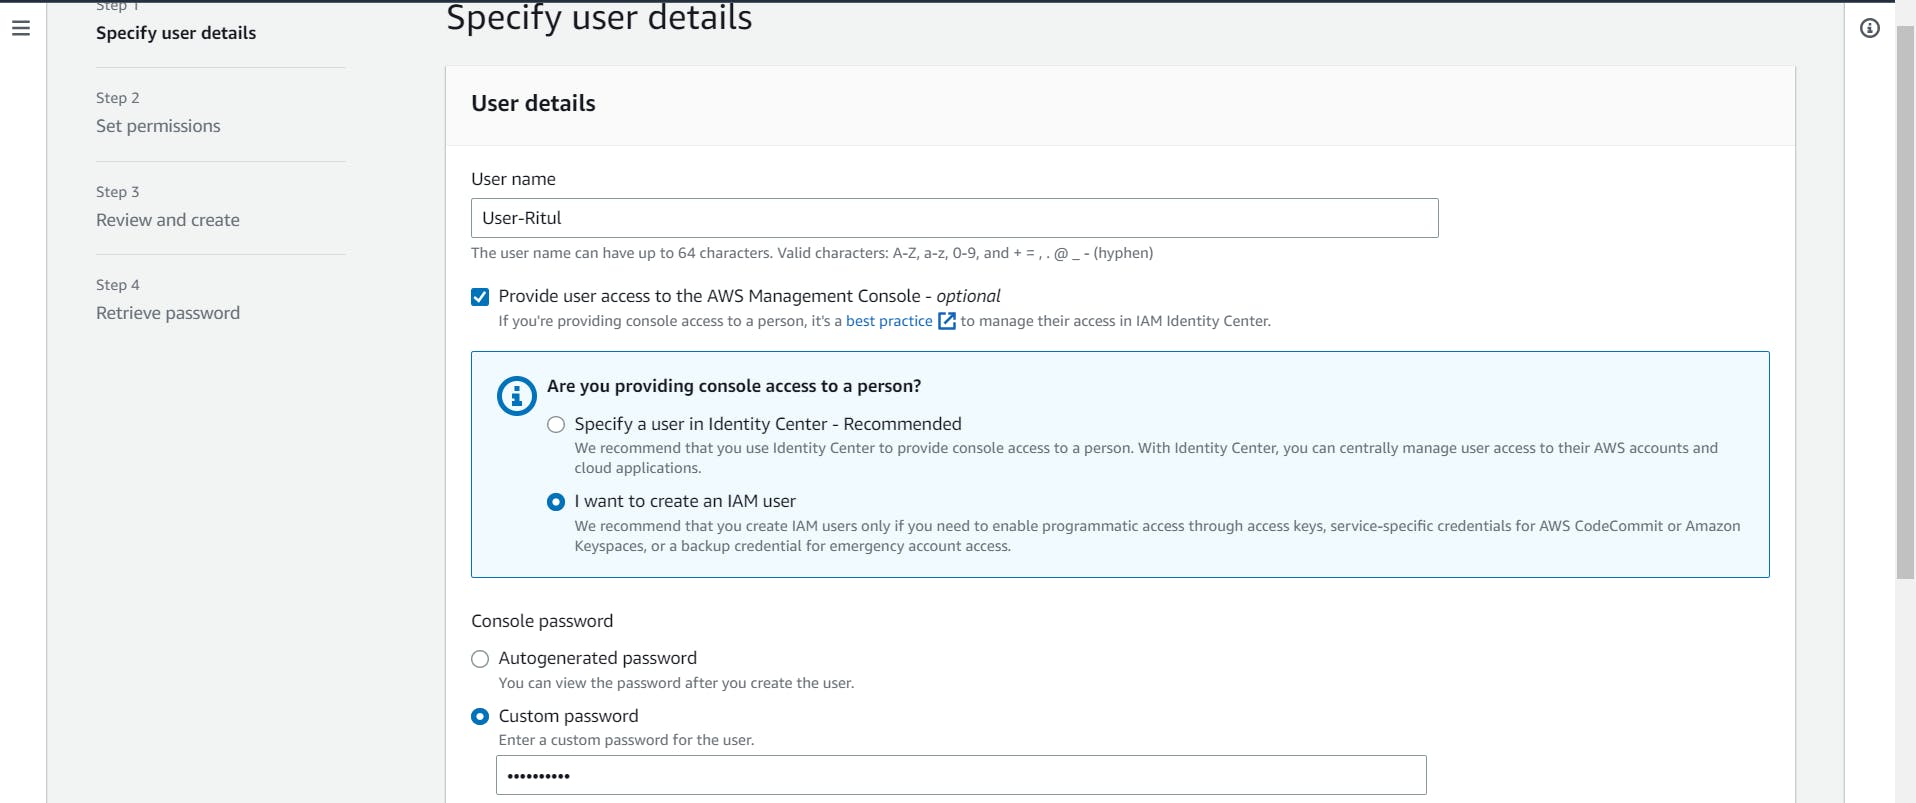
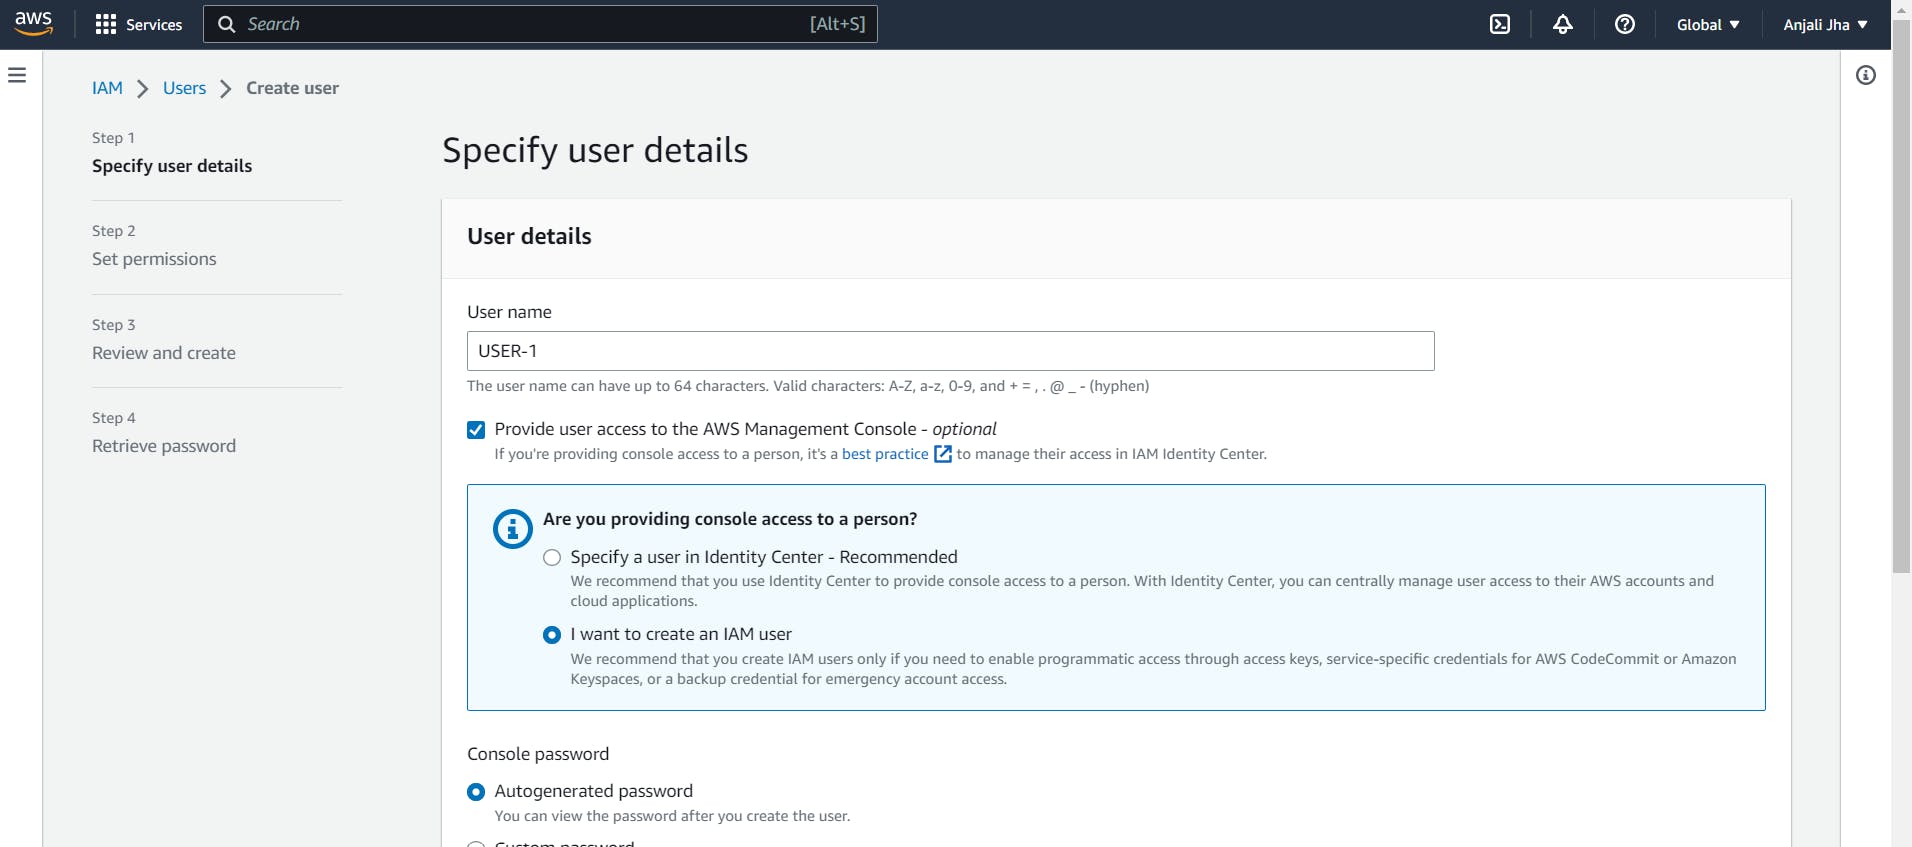
Enter a desired username for the IAM user (e.g., "my-ec2-user") in the "User name" field.
In the "Attach policy" step, search for the "AmazonEC2FullAccess" policy and select it.
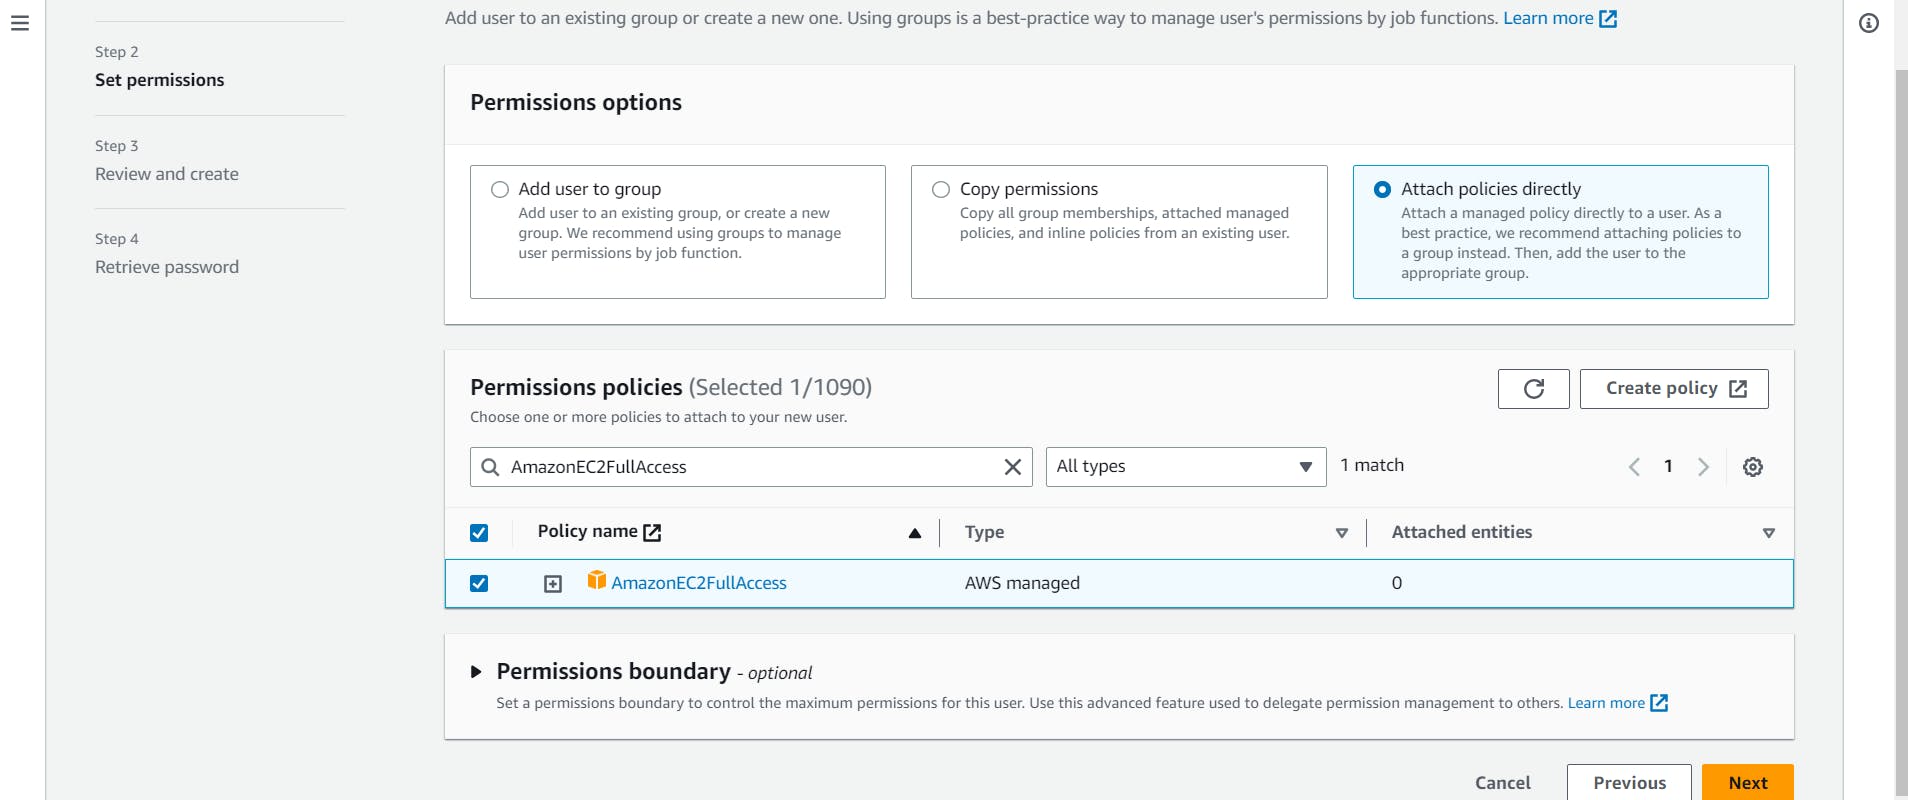
Click on "Next Step" and review the information.
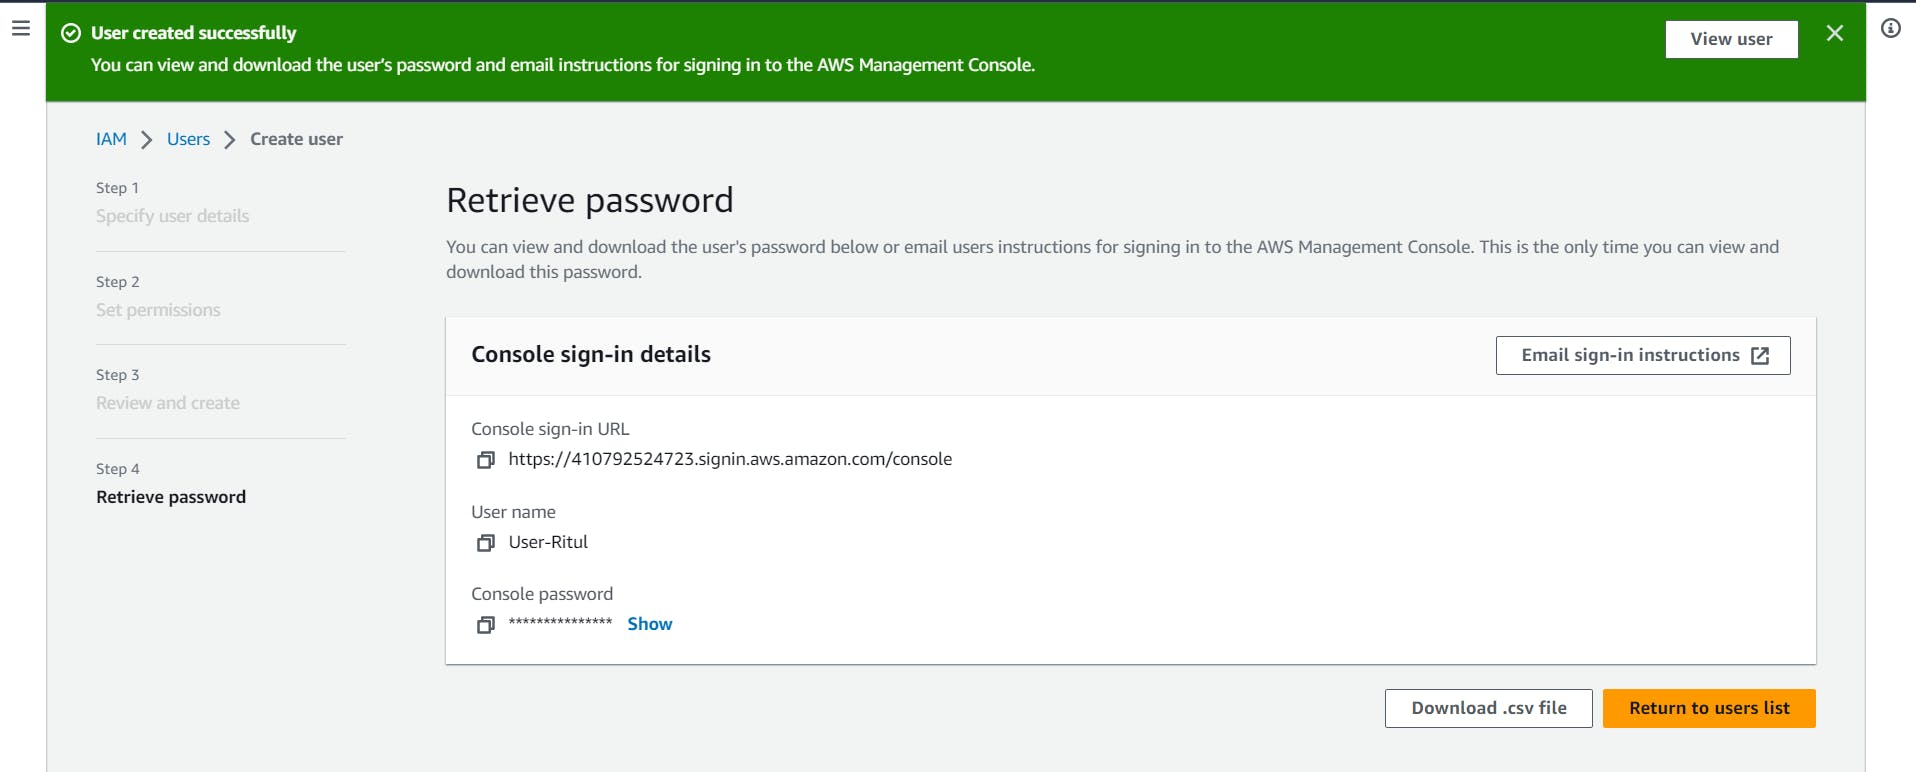
Finally, the IAM user is created.
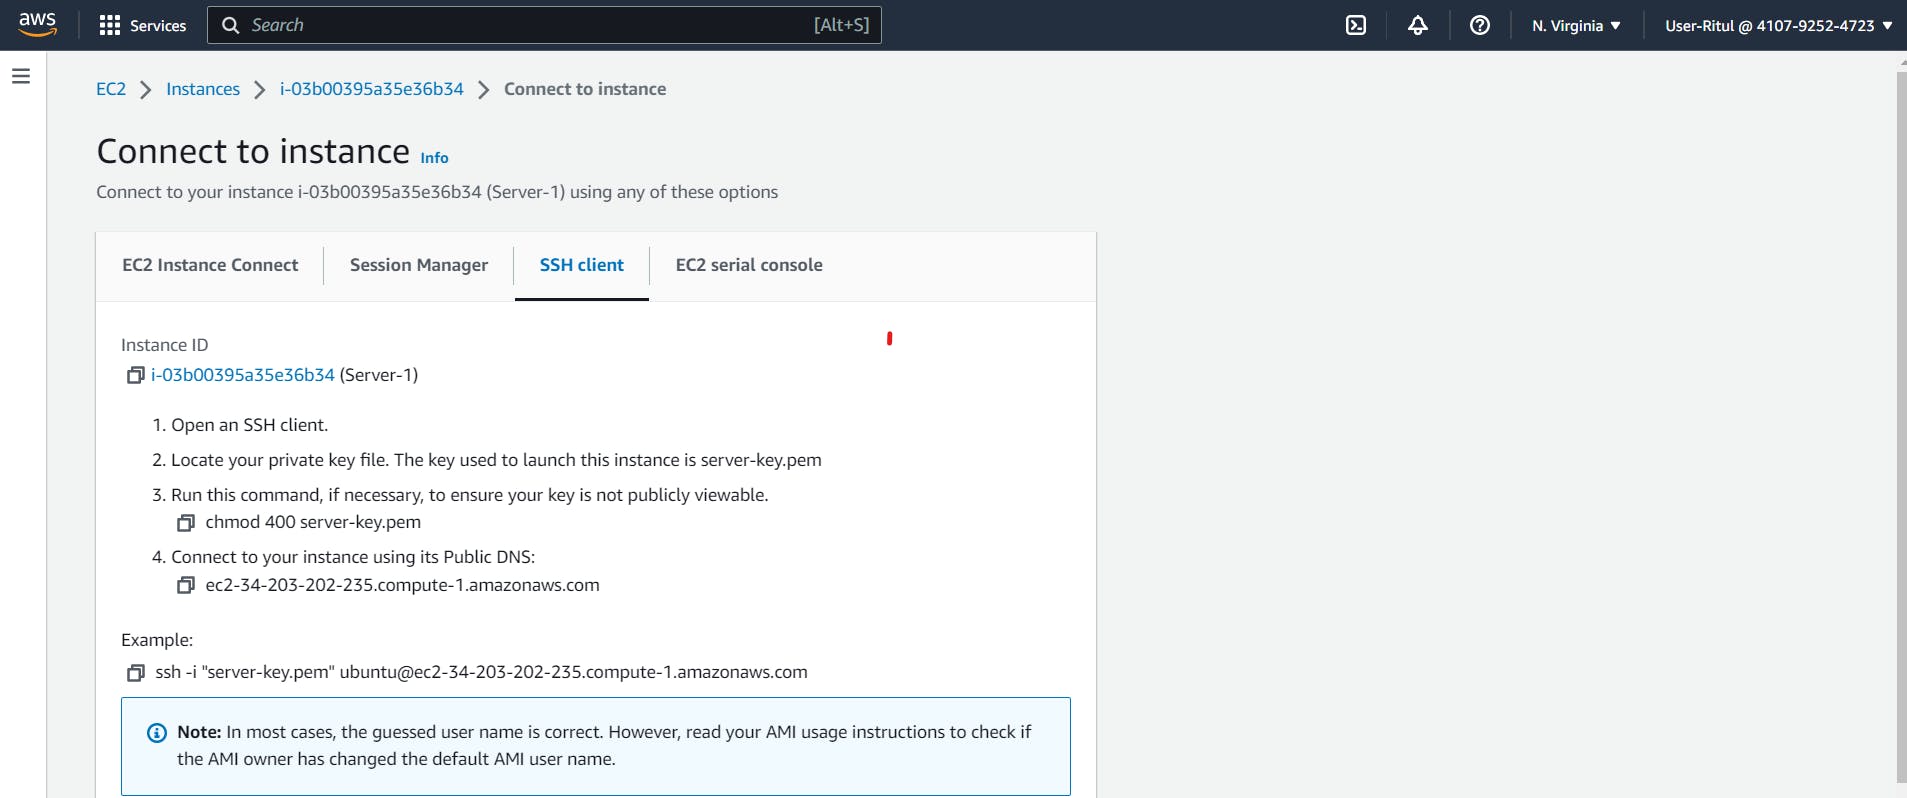
👉 Launch your Linux instance through the IAM user that you created now and install Jenkins and Docker on your machine via a single Shell Script.

Firstly install Java, then install Jenkins
sudo apt-get update
sudo apt install openjdk-11-jre
java --version
curl -fsSL https://pkg.jenkins.io/debian/jenkins.io-2023.key | sudo tee \
/usr/share/keyrings/jenkins-keyring.asc > /dev/null
echo deb [signed-by=/usr/share/keyrings/jenkins-keyring.asc] \
https://pkg.jenkins.io/debian binary/ | sudo tee \
/etc/apt/sources.list.d/jenkins.list > /dev/null
sudo apt-get update
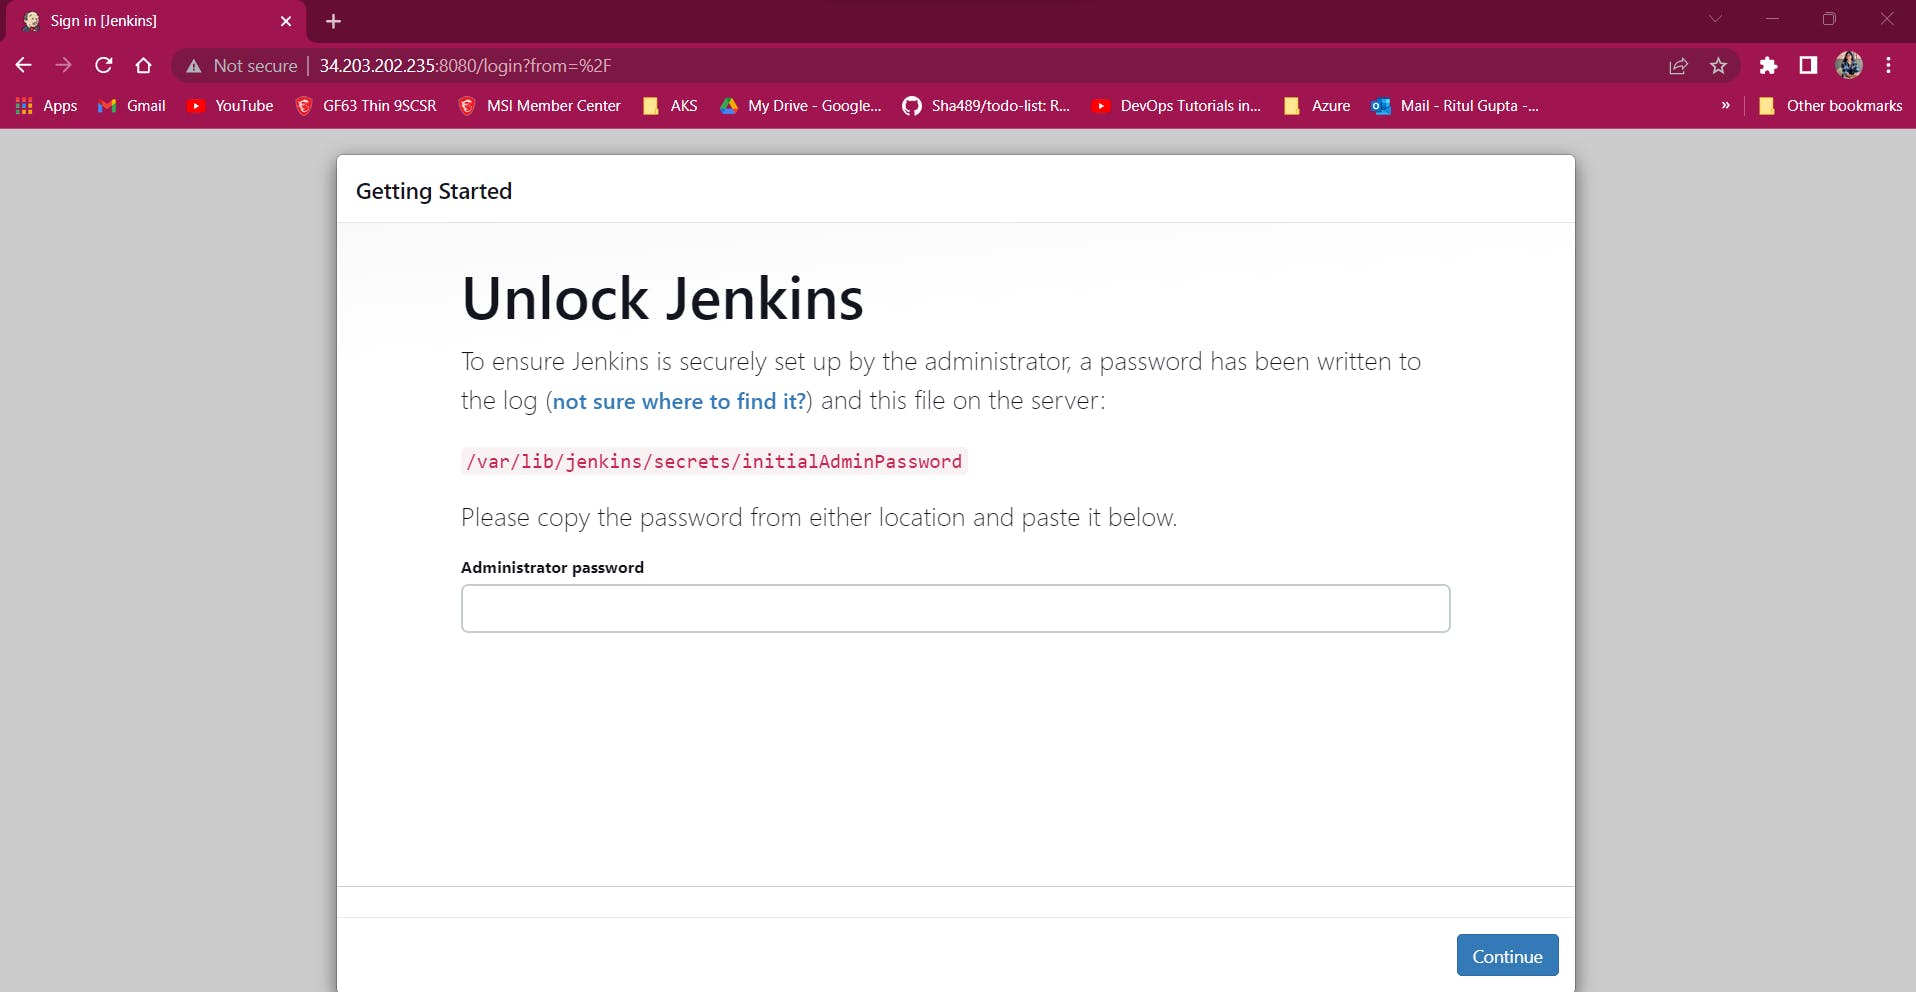
sudo apt-get install jenkins
systemctl status jenkins

TASK-2
👉 In this task, you need to prepare a DevOps team of Avengers. Create 3 IAM users of Avengers and assign them devops groups with IAM policy.
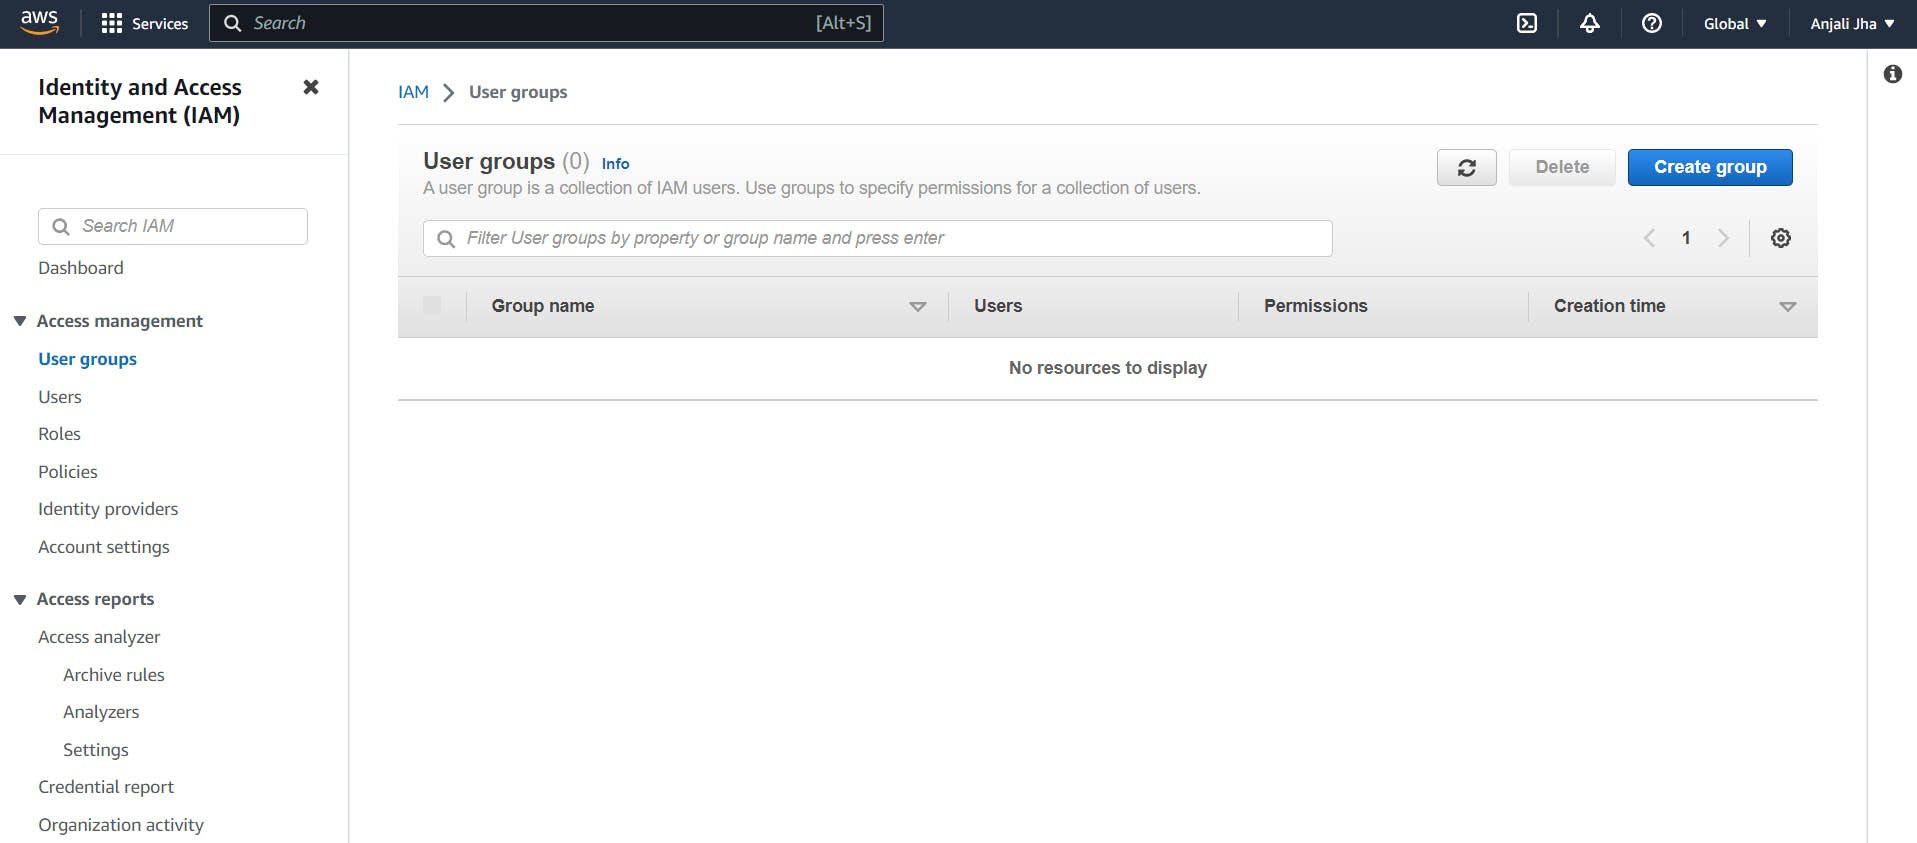
Open the IAM console.
In the left navigation pane, click on "User Groups" and then click on the "Create New Group" button.
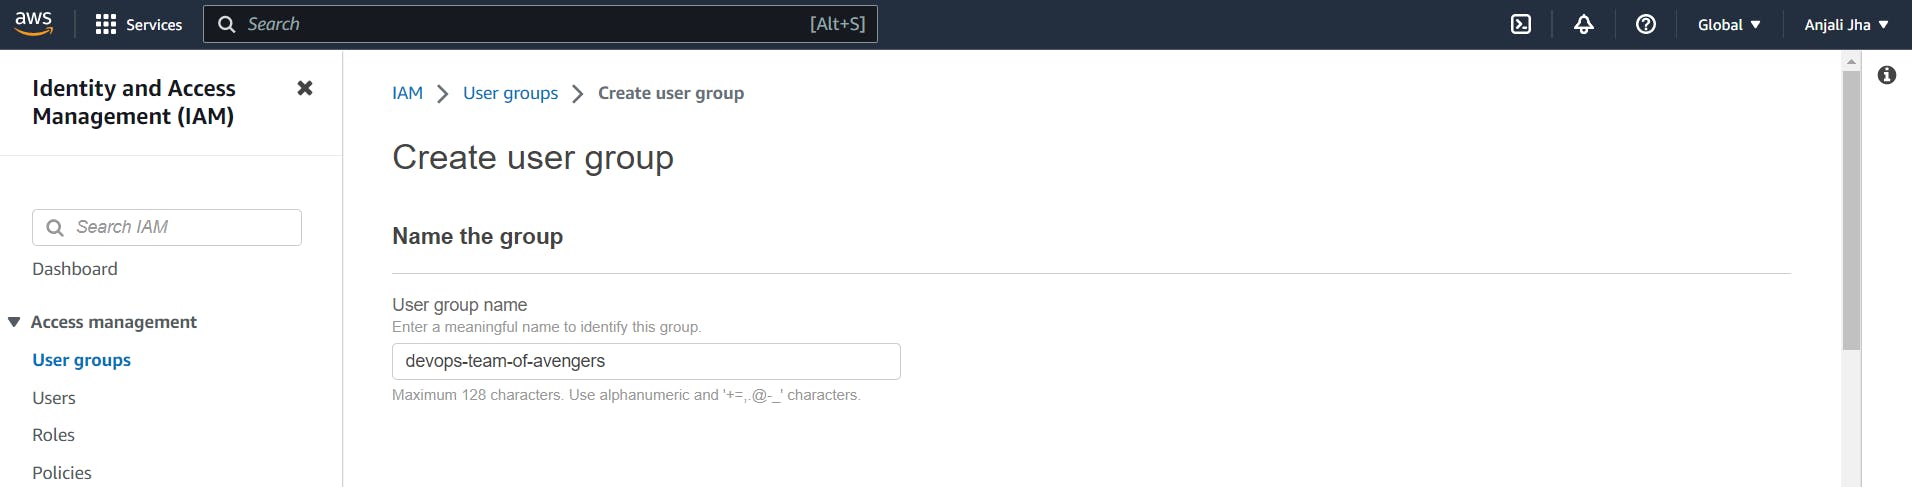
Give the group a name, such as "devops-team-of-avengers," and click on "Next Step."
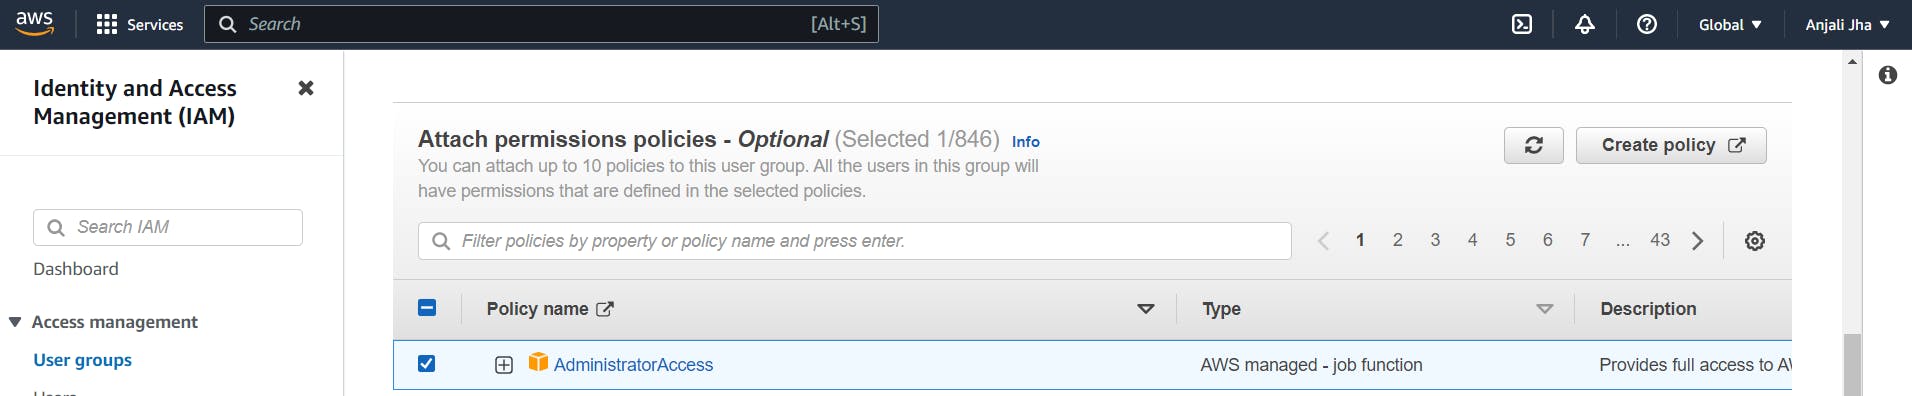
Choose policies based on the specific permissions required for the DevOps team.
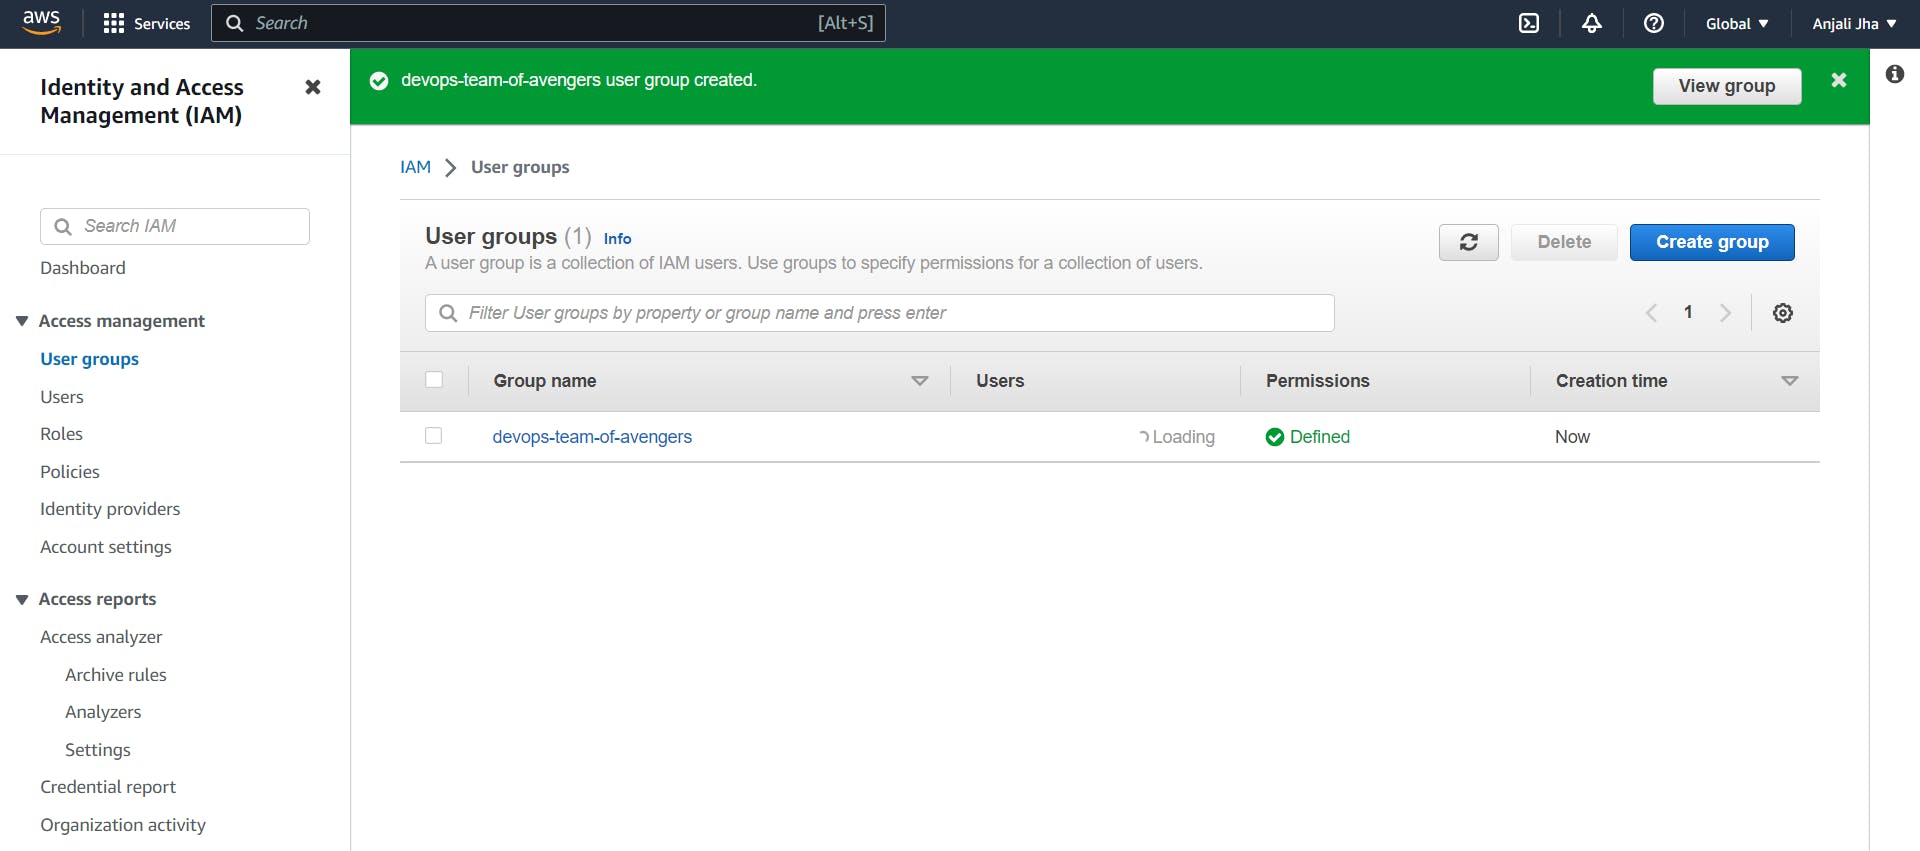
Finally, click on "Create Group" to create the DevOps group.
Now, follow these steps for each of the three IAM users:
In the left navigation pane of the IAM console, click on "Users" and then click on the "Add user" button.
Enter a desired username for the IAM user, such as "USER-1," in the "User name" field.
In the "Permissions" section, click on the "Add user to group" button.
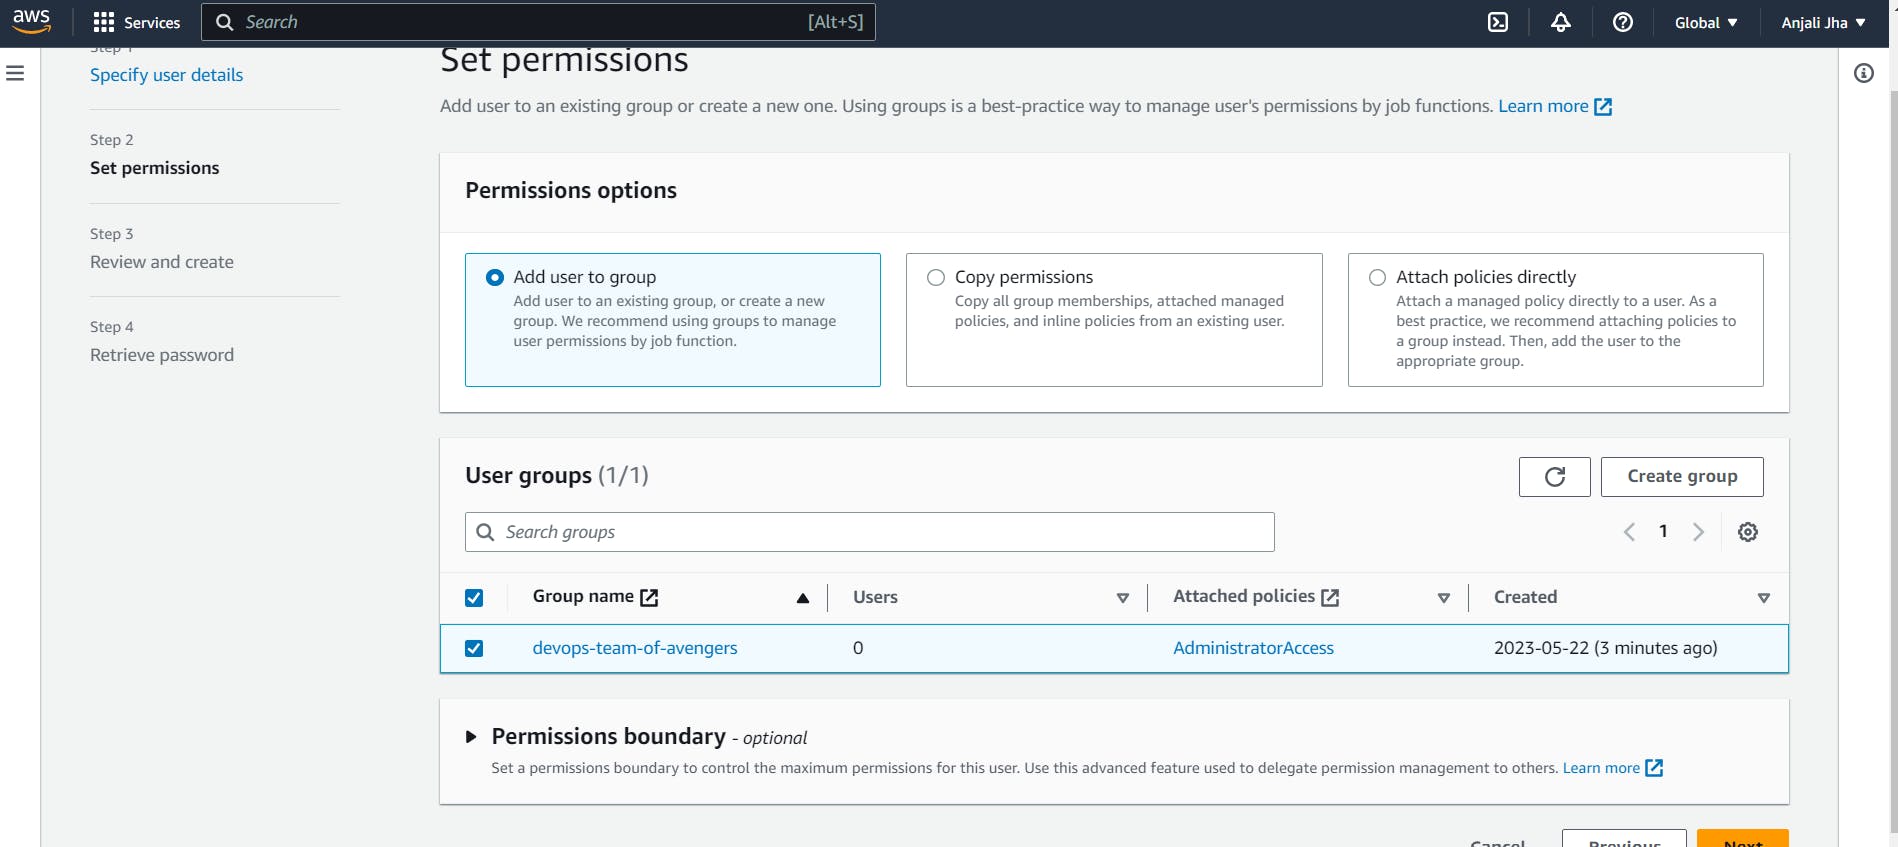
Select the "devops-team-of-avengers" that you created earlier and click on "Add to groups."
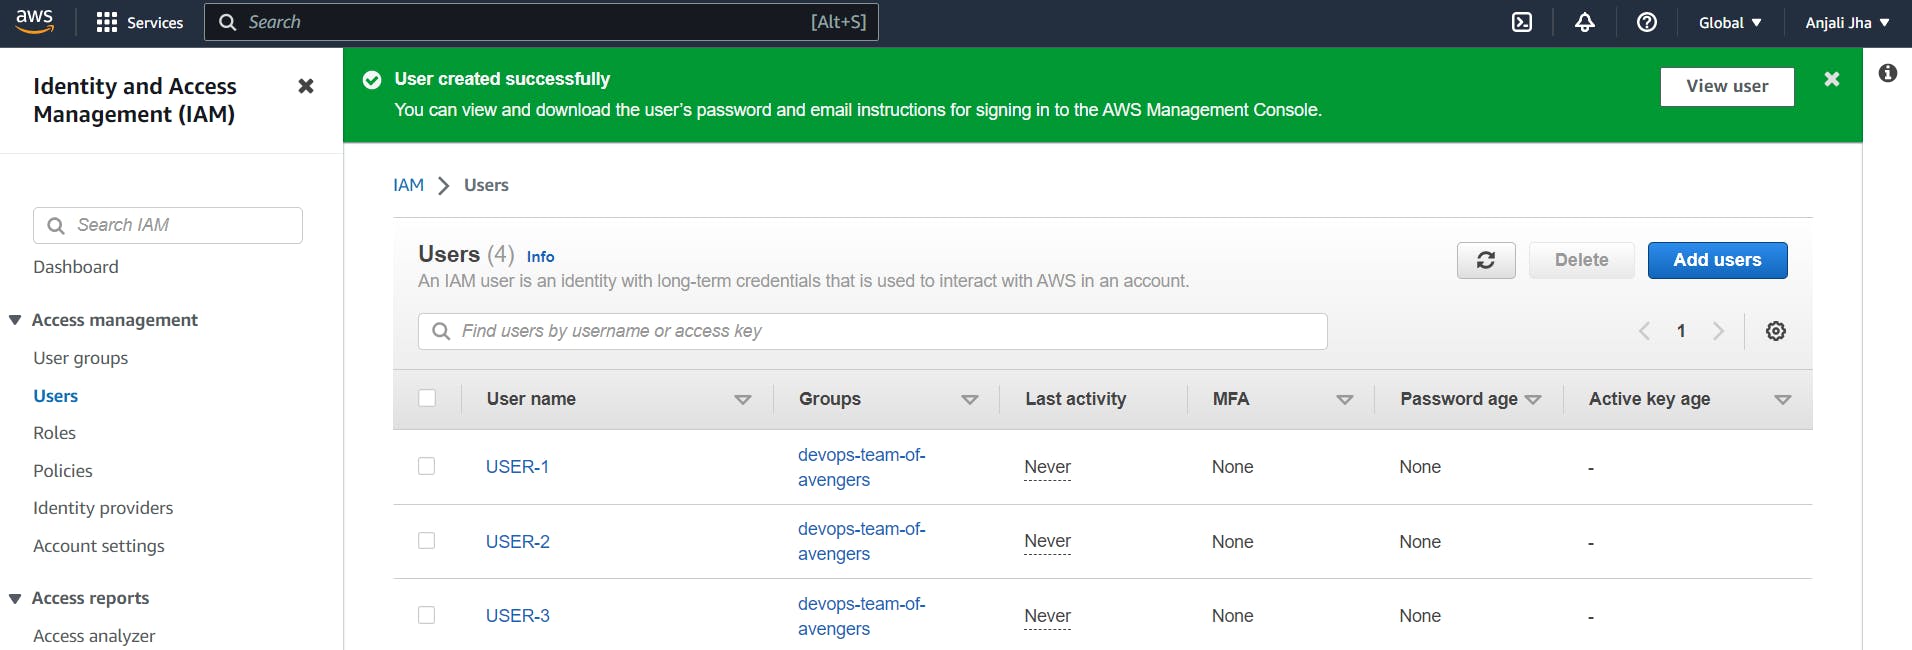
Repeat these steps to create the remaining two IAM users for the Avengers DevOps team, assigning them to the "devops-team-of-avengers" in the "Add user to group" step.
"Like, share, and follow to explore more AWS blogs"
Happy Learning :)